Roll
What your whole roll shares, in Open Negative Initiative. The film type, the light of your scanning rig and the conversion by hand: set on one photo, they reach every photo measured with it.
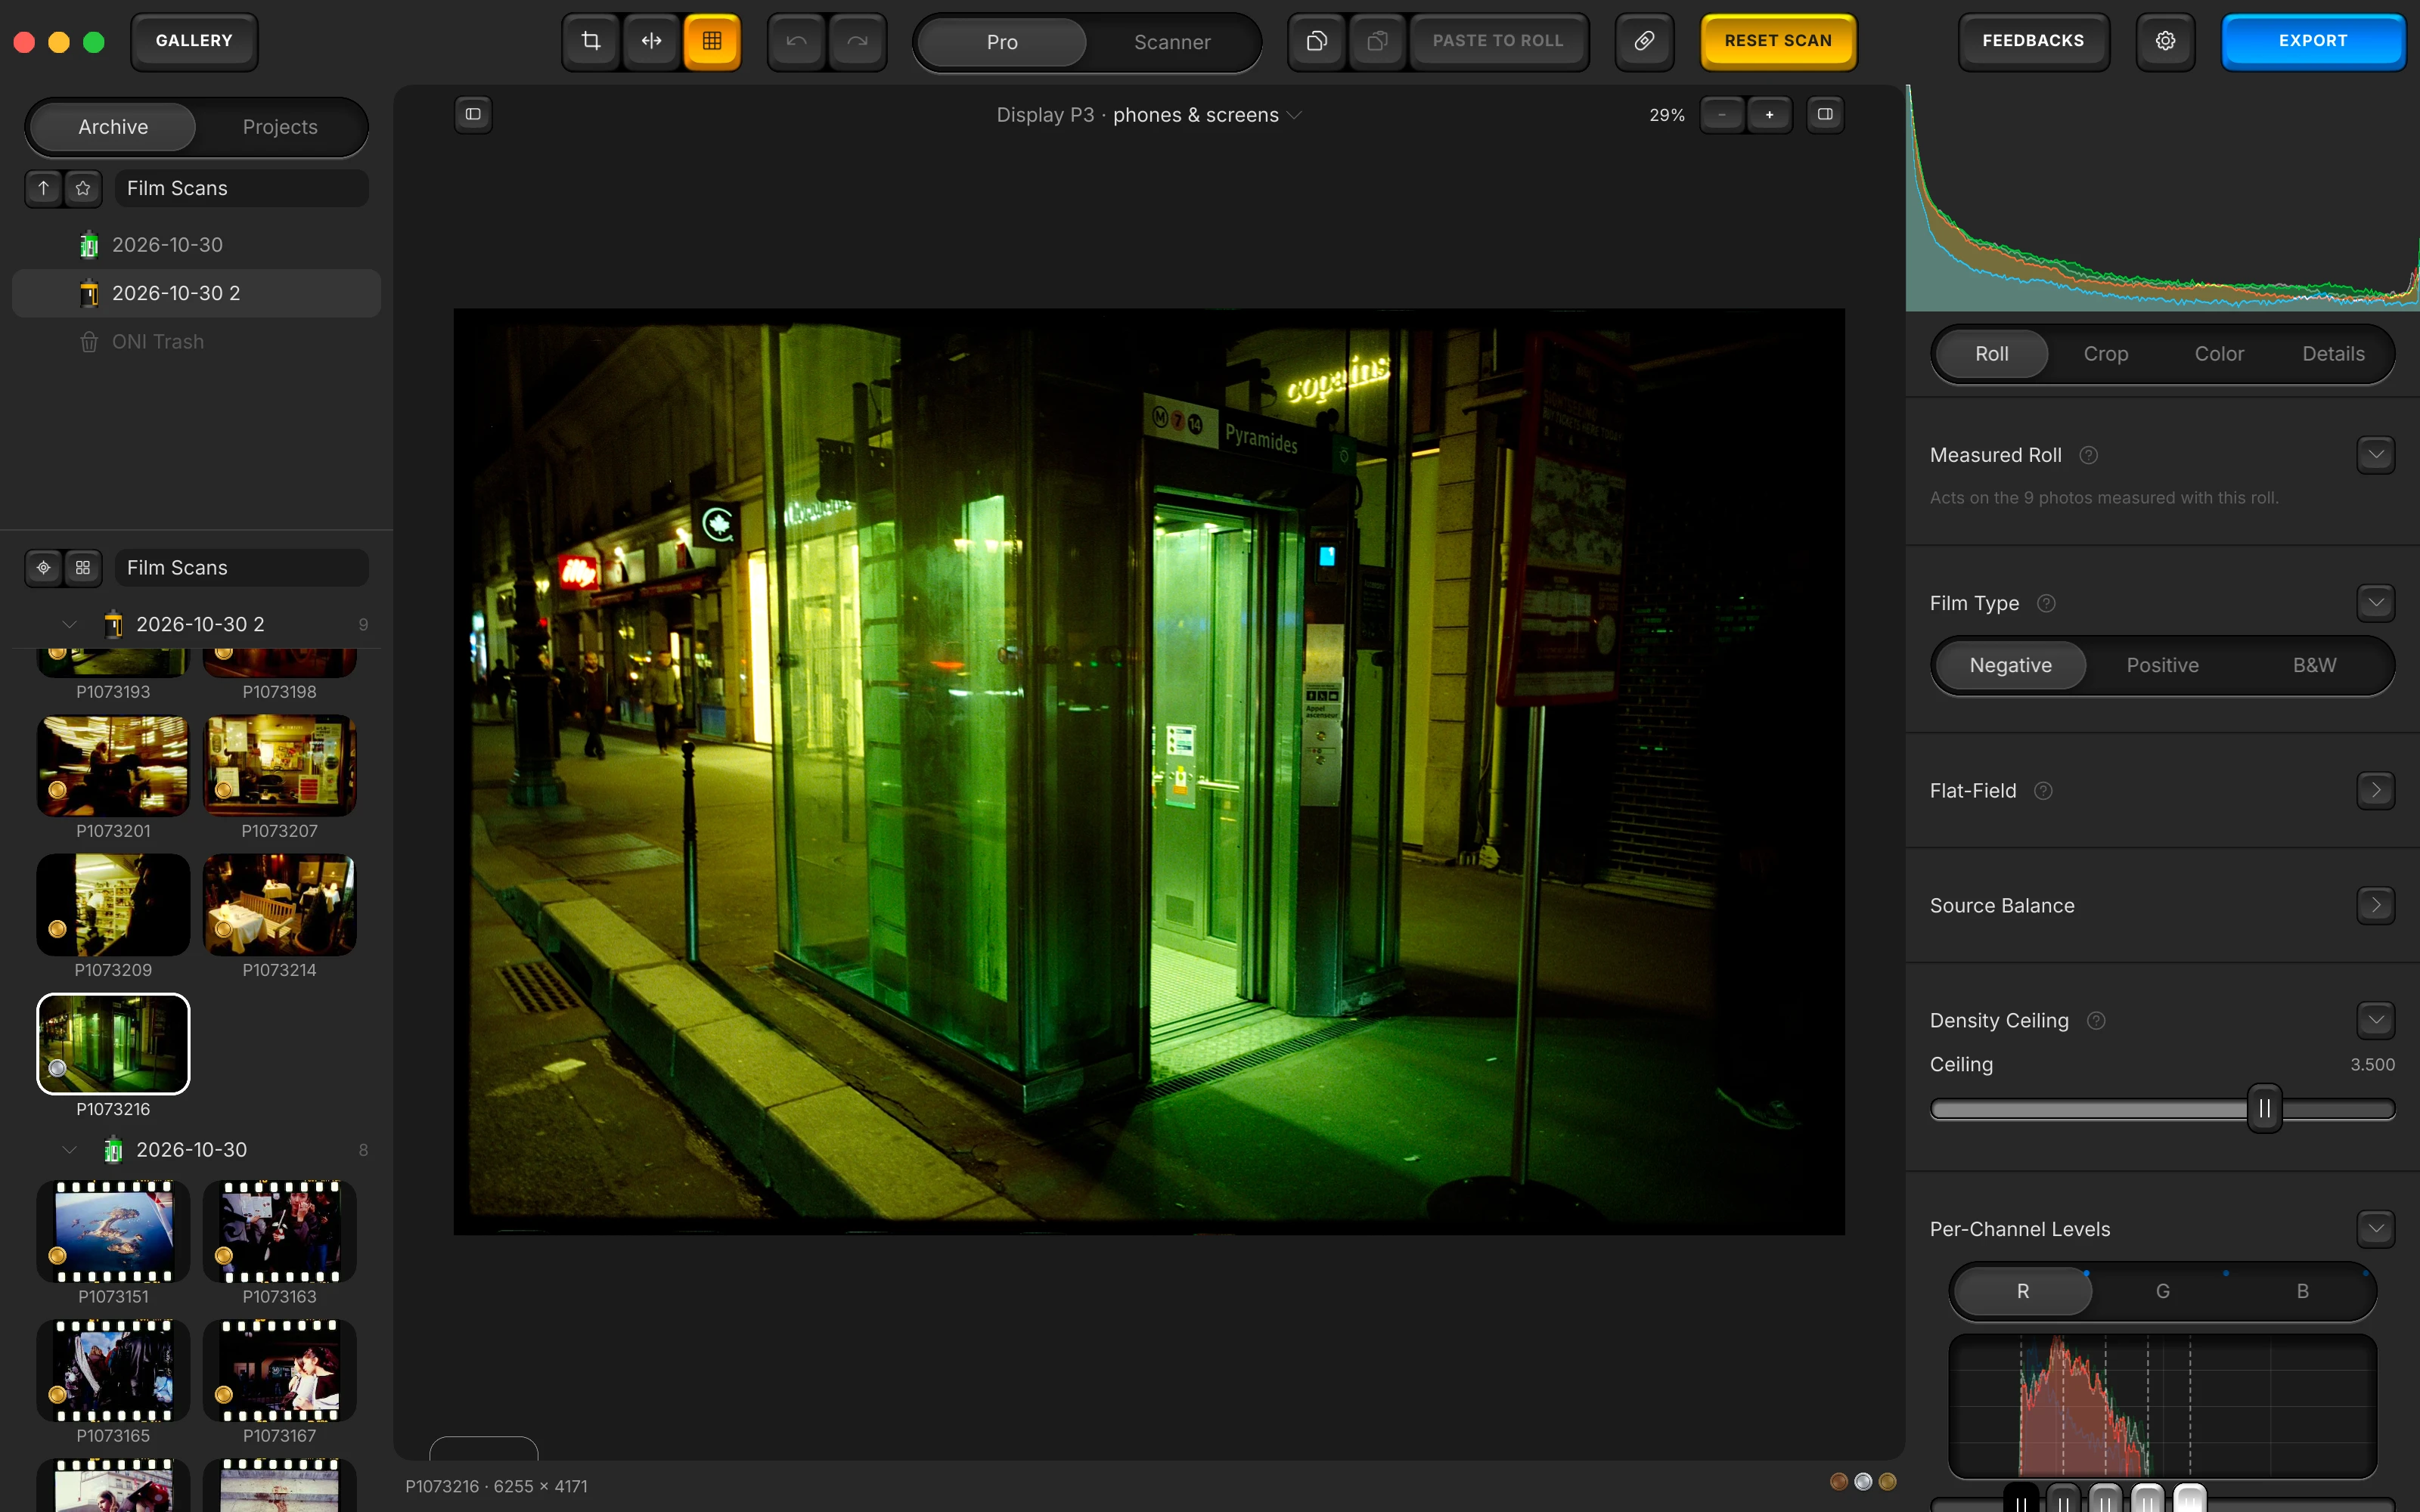
Measured Roll
Every setting in this tab is the roll's. Moved on the open photo, it reaches every photo measured with it, each keeping its own look, and one undo takes the whole roll back.
The app's own note on Measured Roll
Every setting here is the roll's: moved on this photo, it reaches every photo measured with it, each keeping its own look. A photo of the folder left out of that measurement can join it, or the measured ones can become a roll of their own.
Measured Roll
Every setting of this tab is your roll's: moved on the open photo, it reaches every photo measured with it, each keeping its own look. The block says how many photos that is.
- When photos of the folder were left out of the measurement, Join the N gives them the roll's measurement and settings, their own look kept; Roll of the N makes the measured photos a roll of their own.
- On a photo never measured with its roll, these settings act on that photo alone, and Prepare the Roll… measures it.
- One ⌘Z (Ctrl+Z on Windows) takes a gesture back on the whole roll.
- Travels
- Nothing to carry: it is a gesture or a reading, not a setting.
Film Type
What the film is, for the whole roll. A colour negative and black and white are inverted from their density; a slide is already a positive: Prepare the Roll balances a roll of slides on a white or grey you click and leaves each slide's black and white at rest, and the tab shows what each one needs.
The app's own note on Film Type
What the film is: a colour negative, a slide or black and white. A slide is read as a plain RAW, its dyes never separated; Prepare the Roll balances a slide roll on a white or grey you click, its colour alone; without a click, the slides keep the camera's 5500 K.
Film Type
Negative, Positive or B&W: what your film is, for the whole roll. A negative and black and white are inverted from their density. A slide is already a positive: Prepare the Roll balances a roll of slides on a white or grey you click, the same gains for every slide, and leaves each slide's own black and white at rest.
- On a slide, Source Balance holds two sliders for the colour cast, Blue ↔ Amber and Magenta ↔ Green; Density Ceiling and Dye Separation are hidden.
- In B&W, Dye Separation, Balance Strength, Chroma Denoise and the flat-field's colour are hidden, with the Color tab's colour blocks.
- Switching carries the density ceiling, the levels and the exposure still at rest onto the new film's own rest.
- No preset and no paste ever carries it: it is what the film is, not a look.
- Travels
- It is the roll's: moved on one photo, it reaches every photo measured with the roll, and one undo takes them all back. A paste of settings never carries it; no preset carries it either.
Flat-Field
Evens out the light of the rig your roll was digitised on. It runs before everything else, whatever you crop to, and describes the rig rather than the photo: Reset to Imported State keeps it, and only the block's own reset key takes it off.
- USE THIS PHOTO AS FLAT-FIELD
Your rig's light, taken once. A frame of the empty light panel, shot on the same rig, becomes the mask.
- 100%
How much to even out. Amount rests whole, behind the gear key.
- +0.00
Corners back to neutral. Temperature and Tint give the corrected corners their colour back.
The app's own note on Flat-Field
Evens out uneven lighting from the scanner, whatever you crop to.
Flat-field
The Flat-field switch turns the correction on. Use This Photo as Flat-Field takes the open photo, a frame of the empty light panel shot on the same rig, as the mask; the correction then runs before everything else, whatever you crop to.
- A mask is a picture of your rig's panel: taken once, it is offered to every roll after.
- The app then offers to move that photo out of the library, into FlatField Presets in the app's folder.
- Reset to Imported State, ⇧⌘R (Ctrl+Shift+R on Windows), keeps a photo's flat-field: it describes the rig, not the photograph. The block's own reset key takes it off.
- A contact sheet never takes a second flat-field from its roll.
- Travels
- It is the roll's: moved on one photo, it reaches every photo measured with the roll, and one undo takes them all back. A paste of settings never carries it; a preset carries it when its "Flat-Field" box is ticked.
Mask
Which mask evens out the light, among the masks on this computer. The menu shows while the switch is on; with None selected, the stage waits for a mask.
- With no mask yet, the block says so: take a frame of the empty light panel, shot on this rig.
- The Valoi 35v1 mask is listed only on a photo already on it.
- Missing mask means this photo names a mask this computer does not have.
- Travels
- It is the roll's: moved on one photo, it reaches every photo measured with the roll, and one undo takes them all back. A paste of settings never carries it; a preset carries it when its "Flat-Field" box is ticked.
Amount
How much of the mask's unevenness to take out, resting whole: a mask is a picture of your rig's own panel. It waits behind the gear key, Show Amount and Color, greyed until a mask is chosen.
- Amount
- 0% to 100%, at rest 100%
- Travels
- It is the roll's: moved on one photo, it reaches every photo measured with the roll, and one undo takes them all back. A paste of settings never carries it; a preset carries it when its "Flat-Field" box is ticked.
Temperature and Tint
A uniform correction does not always stay neutral once printed. Temperature, blue to yellow, and Tint, green to magenta, give the corrected corners of your photo their colour back.
- Behind the gear key, greyed until a mask is chosen.
- Turning the switch off and on again keeps them where you left them.
- Hidden in B&W.
- Temperature
- -1.00 to +1.00, at rest +0.00
- Tint
- -1.00 to +1.00, at rest +0.00
- Travels
- It is the roll's: moved on one photo, it reaches every photo measured with the roll, and one undo takes them all back. A paste of settings never carries it; a preset carries it when its "Flat-Field" box is ticked.
Load, Rename, Folder
Behind the gear key: Load… brings a mask in from a picture of the empty light panel, Rename names the mask in use, Folder opens FlatField Presets, and Apply to Selection lays this flat-field on the other photos you selected.
- Rename is greyed until one of your own masks is chosen.
- Apply to Selection is greyed until another photo is selected.
- Travels
- Nothing to carry: it is a gesture or a reading, not a setting.
Source Encoding
Only for a file that names no colour profile, such as a scanner's raw TIFF. Say how it was written, and the photo is read again.
The app's own note on Source Encoding
This file names no color profile, so it is read as sRGB. A scanner's raw output is often linear: pick what the scanning software wrote, and the photograph is read again.
Source Encoding
Only for a file that names no colour profile, such as a scanner's raw TIFF. Read as sRGB, Linear or Display P3: pick what the scanning software wrote, and your photo is read again.
- Until you pick, such a file is read as sRGB.
- A greyscale file offers sRGB and Linear only.
- Travels
- It is the roll's: moved on one photo, it reaches every photo measured with the roll, and one undo takes them all back. A paste of settings never carries it; a preset carries it when its "Source Encoding" box is ticked.
Source Balance
The conversion by hand, folded until you open it. Three channel gains in EV, where the roll's measurement put them; on a slide, two sliders for its colour cast, Blue ↔ Amber and Magenta ↔ Green.
- +0.00 EV
One gain per channel, in EV. Measure set them for your roll; on a negative the channel's own colour is at the left.
- +0.00 EV
On a slide, two sliders. Blue ↔ Amber and Magenta ↔ Green, for its colour cast, where the white you picked set them.
- +0.00 EV
Back to the roll's. A double click returns +0.00 EV; the block's reset returns the roll's own gains.
Source Balance
The conversion by hand: each channel's gain in EV, before the inversion. Measure set the three for your roll, and they open there. On a negative a slider reads Red ↔ Cyan, Green ↔ Magenta, Blue ↔ Yellow: the channel's own colour sits at its left end.
- On a slide, two sliders take their place, Blue ↔ Amber and Magenta ↔ Green, each moving the three gains together and holding the other: they open where the white or grey you picked in Prepare the Roll set them.
- On a roll of slides, a move lands on every slide as a shift from its own measure.
- A double click returns a gain to +0.00 EV; the block's reset returns the roll's own gains.
- Auto White Balance never writes here: it writes Temperature and Tint, in the Color tab.
- Red ↔ Cyan
- -3.00 EV to +3.00 EV, a double click returns +0.00 EV
- Green ↔ Magenta
- -3.00 EV to +3.00 EV, a double click returns +0.00 EV
- Blue ↔ Yellow
- -3.00 EV to +3.00 EV, a double click returns +0.00 EV
- Travels
- It is the roll's: moved on one photo, it reaches every photo measured with the roll, and one undo takes them all back. A paste of settings never carries it; a preset carries it when its white balance is set to Copied WB.
A slide's balance
A slide's colour comes from a white or grey you click: in Prepare the Roll, step 3 reads it on one slide and gives the whole roll the gains that turn it neutral, its brightness kept. Each slide's black and white points stay at rest.
- Without a click, your slides keep the camera's 5500 K.
- To move a slide's colour by hand, open Source Balance: Blue ↔ Amber and Magenta ↔ Green.
- Auto White Balance, in the Color tab, reads a slide as it stands.
Density Ceiling
The top of the density axis the three windows are placed on. A camera RAW rests at 3.500 on a track to 4.000; a scanner file rests at 2.097 on a track to 2.600. Hidden on a slide.
The app's own note on Density Ceiling
Reveals more detail in the densest parts of the negative, at the cost of more visible noise there.
Density Ceiling
The top of the density axis, which sets how much room the densest part of your negative gets. Raising it brightens and reveals more there, at the cost of more visible noise.
- The track and its rest depend on the file: a camera RAW runs further than a scanner's file.
- A double click and the block's reset return the rest your file calls for.
- Hidden on a slide.
- Ceiling, camera RAW
- 2.097 to 4.000, at rest 3.500
- Ceiling, scanner file
- 2.097 to 2.600, at rest 2.097
- Travels
- It is the roll's: moved on one photo, it reaches every photo measured with the roll, and one undo takes them all back. A paste of settings never carries it; a preset carries it when its "Density Ceiling" box is ticked.
Per-Channel Levels
Each channel's window over its own histogram, in density. Measure placed them for the whole roll; this is where to correct one by hand. On the Scanner face the block is hidden.
Per-Channel Levels
Each channel's window, R, G and B, over the histogram it is placed on: five handles on a density track, Black, Shadows, Midpoint, Highlights and White. Measure placed them for your roll; this is where to correct one by hand.
- On a negative the track starts at −0.35, so a black point can sit below zero.
- A double click returns that handle alone; the block's reset returns the roll's window.
- An 8-bit source is flagged under the histogram: 256 levels per channel.
- Hidden on the Scanner face.
- Travels
- It is the roll's: moved on one photo, it reaches every photo measured with the roll, and one undo takes them all back. A paste of settings never carries it; a preset carries it when its white balance is set to Copied WB.
Dye Separation
Unmixes the film's own dyes, so colours separate while greys stay where they were. The family names the dye set; the dose is yours. Hidden in B&W, on a slide, on RGB passes and on the Scanner face.
The app's own note on Dye Separation
Subtracts each dye's spill into the other two channels, so colors separate while greys stay put. The family names the film's dye set; the dose depends on the light and sensor it was captured with.
Dyes
The dye set your film was made with: Kodak, Fuji or Generic C-41, ECN-2 for cine negative, or E-6 for slide film. Until you name one, a negative uses Generic.
- The family names the stock, not a look: a reset keeps it, while the dose returns to rest.
- Travels
- It is the roll's: moved on one photo, it reaches every photo measured with the roll, and one undo takes them all back. A paste of settings never carries it; a preset carries it when its "Dye Separation" box is ticked.
Dye separation
Subtracts each dye's spill into the other two channels, so the colours of your photo separate while greys stay where they were.
- A grey ramp looks the same at every dose: judge it on colours and skin.
- The spill depends on the light and the sensor the roll was captured with, which is why the dose is yours.
- Hidden in B&W, on a slide, on a frame shot in RGB passes and on the Scanner face.
- Dye separation
- 0 % to 200 %, at rest 60 %
- Travels
- It is the roll's: moved on one photo, it reaches every photo measured with the roll, and one undo takes them all back. A paste of settings never carries it; a preset carries it when its "Dye Separation" box is ticked.
Balance Strength
How much of each photo's Auto White Balance correction Temperature and Tint take. Each photo keeps its own correction; the share is the roll's. Hidden in B&W, on RGB passes and on the Scanner face.
The app's own note on Balance Strength
The share of Auto White Balance's correction Temperature and Tint take. Each photo keeps its own correction; the share is the roll's.
Balance Strength
The share of Auto White Balance's correction that Temperature and Tint take. Each photo keeps its own full correction; the share is your roll's, and moving it re-doses every photo the key balanced.
- On a photo no key balanced, it moves nothing.
- Hidden in B&W, on a frame shot in RGB passes and on the Scanner face.
- Strength
- 0 % to 100 %, at rest 67 %
- Travels
- It is the roll's: moved on one photo, it reaches every photo measured with the roll, and one undo takes them all back. A paste of settings never carries it; a preset carries it when its "Color (Temperature, Tint)" box is ticked.
The rest of the manual.
Every surface of the app, in the order of your work. From the folder of scans to the exported file.
- ArchiveOpening the folder of your scans, your folders and favourites, the Archive and Projects tabs, a roll's own facts, the Rolls and Labels menus, and the ONI Trash.
- Prepare the RollThe five steps a roll goes through before its frames are edited: film, flat-field, film base, flags, measuring frame, then Measure.
- CropThe framing's own Copy and Paste, aspect ratio, straightening, quarter turns and mirrors, and the measuring window.
- ColorAuto White Balance, Temperature and Tint, Lighting, Effects, Curves, the finishing blocks, and Paper Correction on a paper profile.
- DetailsSharpening, chroma denoise and texture, the stages that act on the grain, judged in the loupe at full resolution.
- De-dustThe brush for dust and scratches, its size, and the list of corrections painted on the open photo.
- ScannerThe Scanner face: ONI or Frontier, a lab scanner's keypad of D, C, M, Y and TEMP, and the finish laid after its render.
- PresetsThe deck, saving a preset, its eighteen switches and white balance choice, the Settings menu, and Copy and Paste.
- ExportThe export screen: three presets, format, space and paper profiles, size, the HDR hack, each photo's EXIF line.
- Toolbar and menusEvery key of the bar and of the canvas margin, and every menu item with its shortcut.
- The whole manualEvery surface on one page, in the order a roll goes through the app.
- The guideYour first negative converted, step by step.
Convert your first roll tonight.
Add your folder, prepare the roll once, export. Free, and nothing else to install.
- Mac
- macOS 13 or later on Apple Silicon or Intel
- Windows
- Windows 10 or 11 (64-bit)
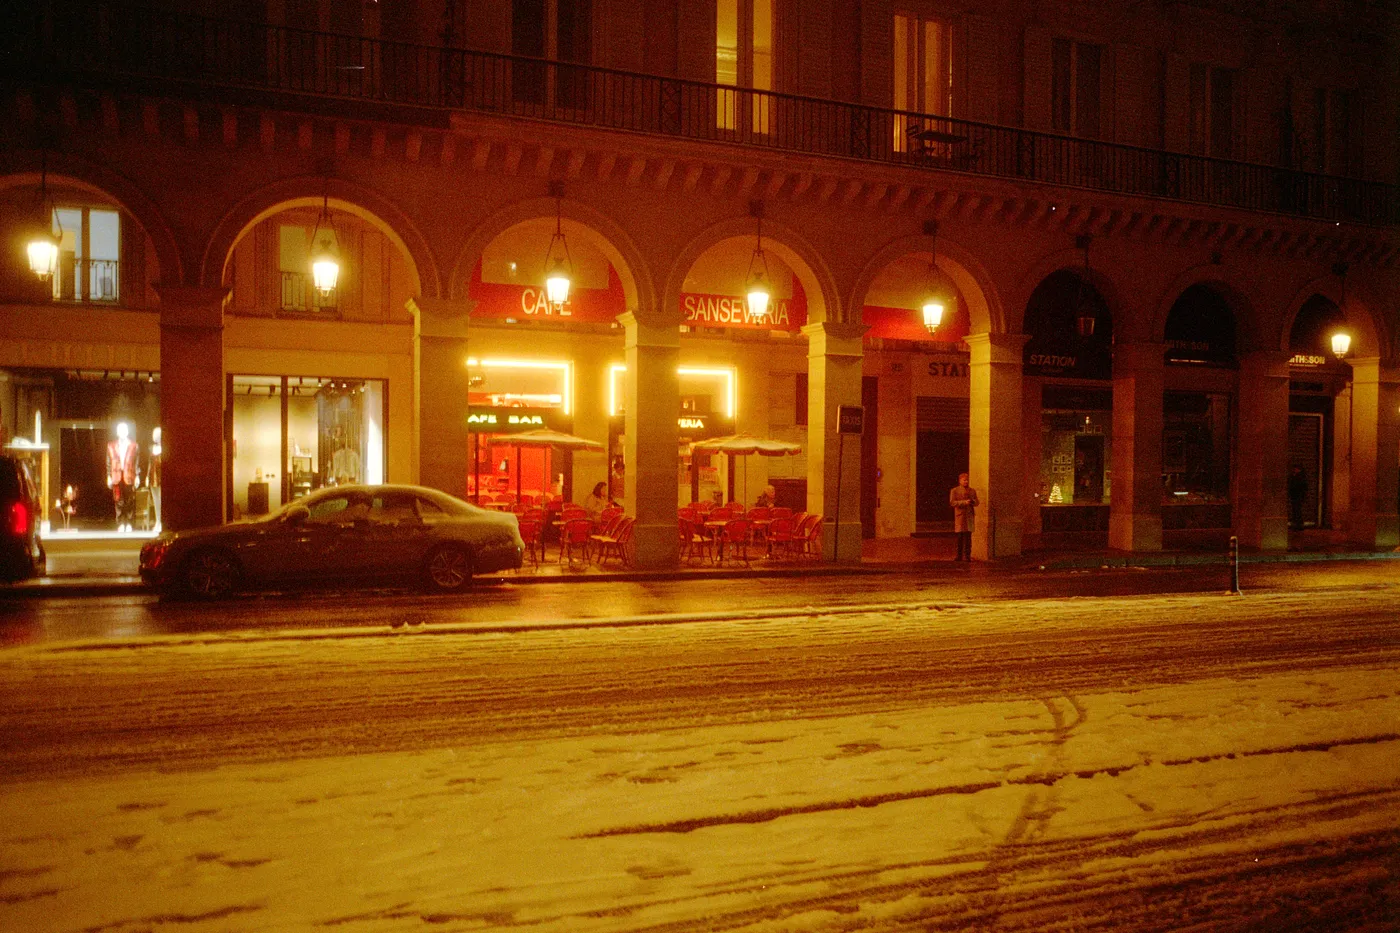
Snow night. Kodak Gold, converted in Open Negative Initiative.