Export your film scans

Your photo, written as the file you need. TIFF or JPEG, in the colour space your screen or lab expects, with your camera and film in its EXIF.

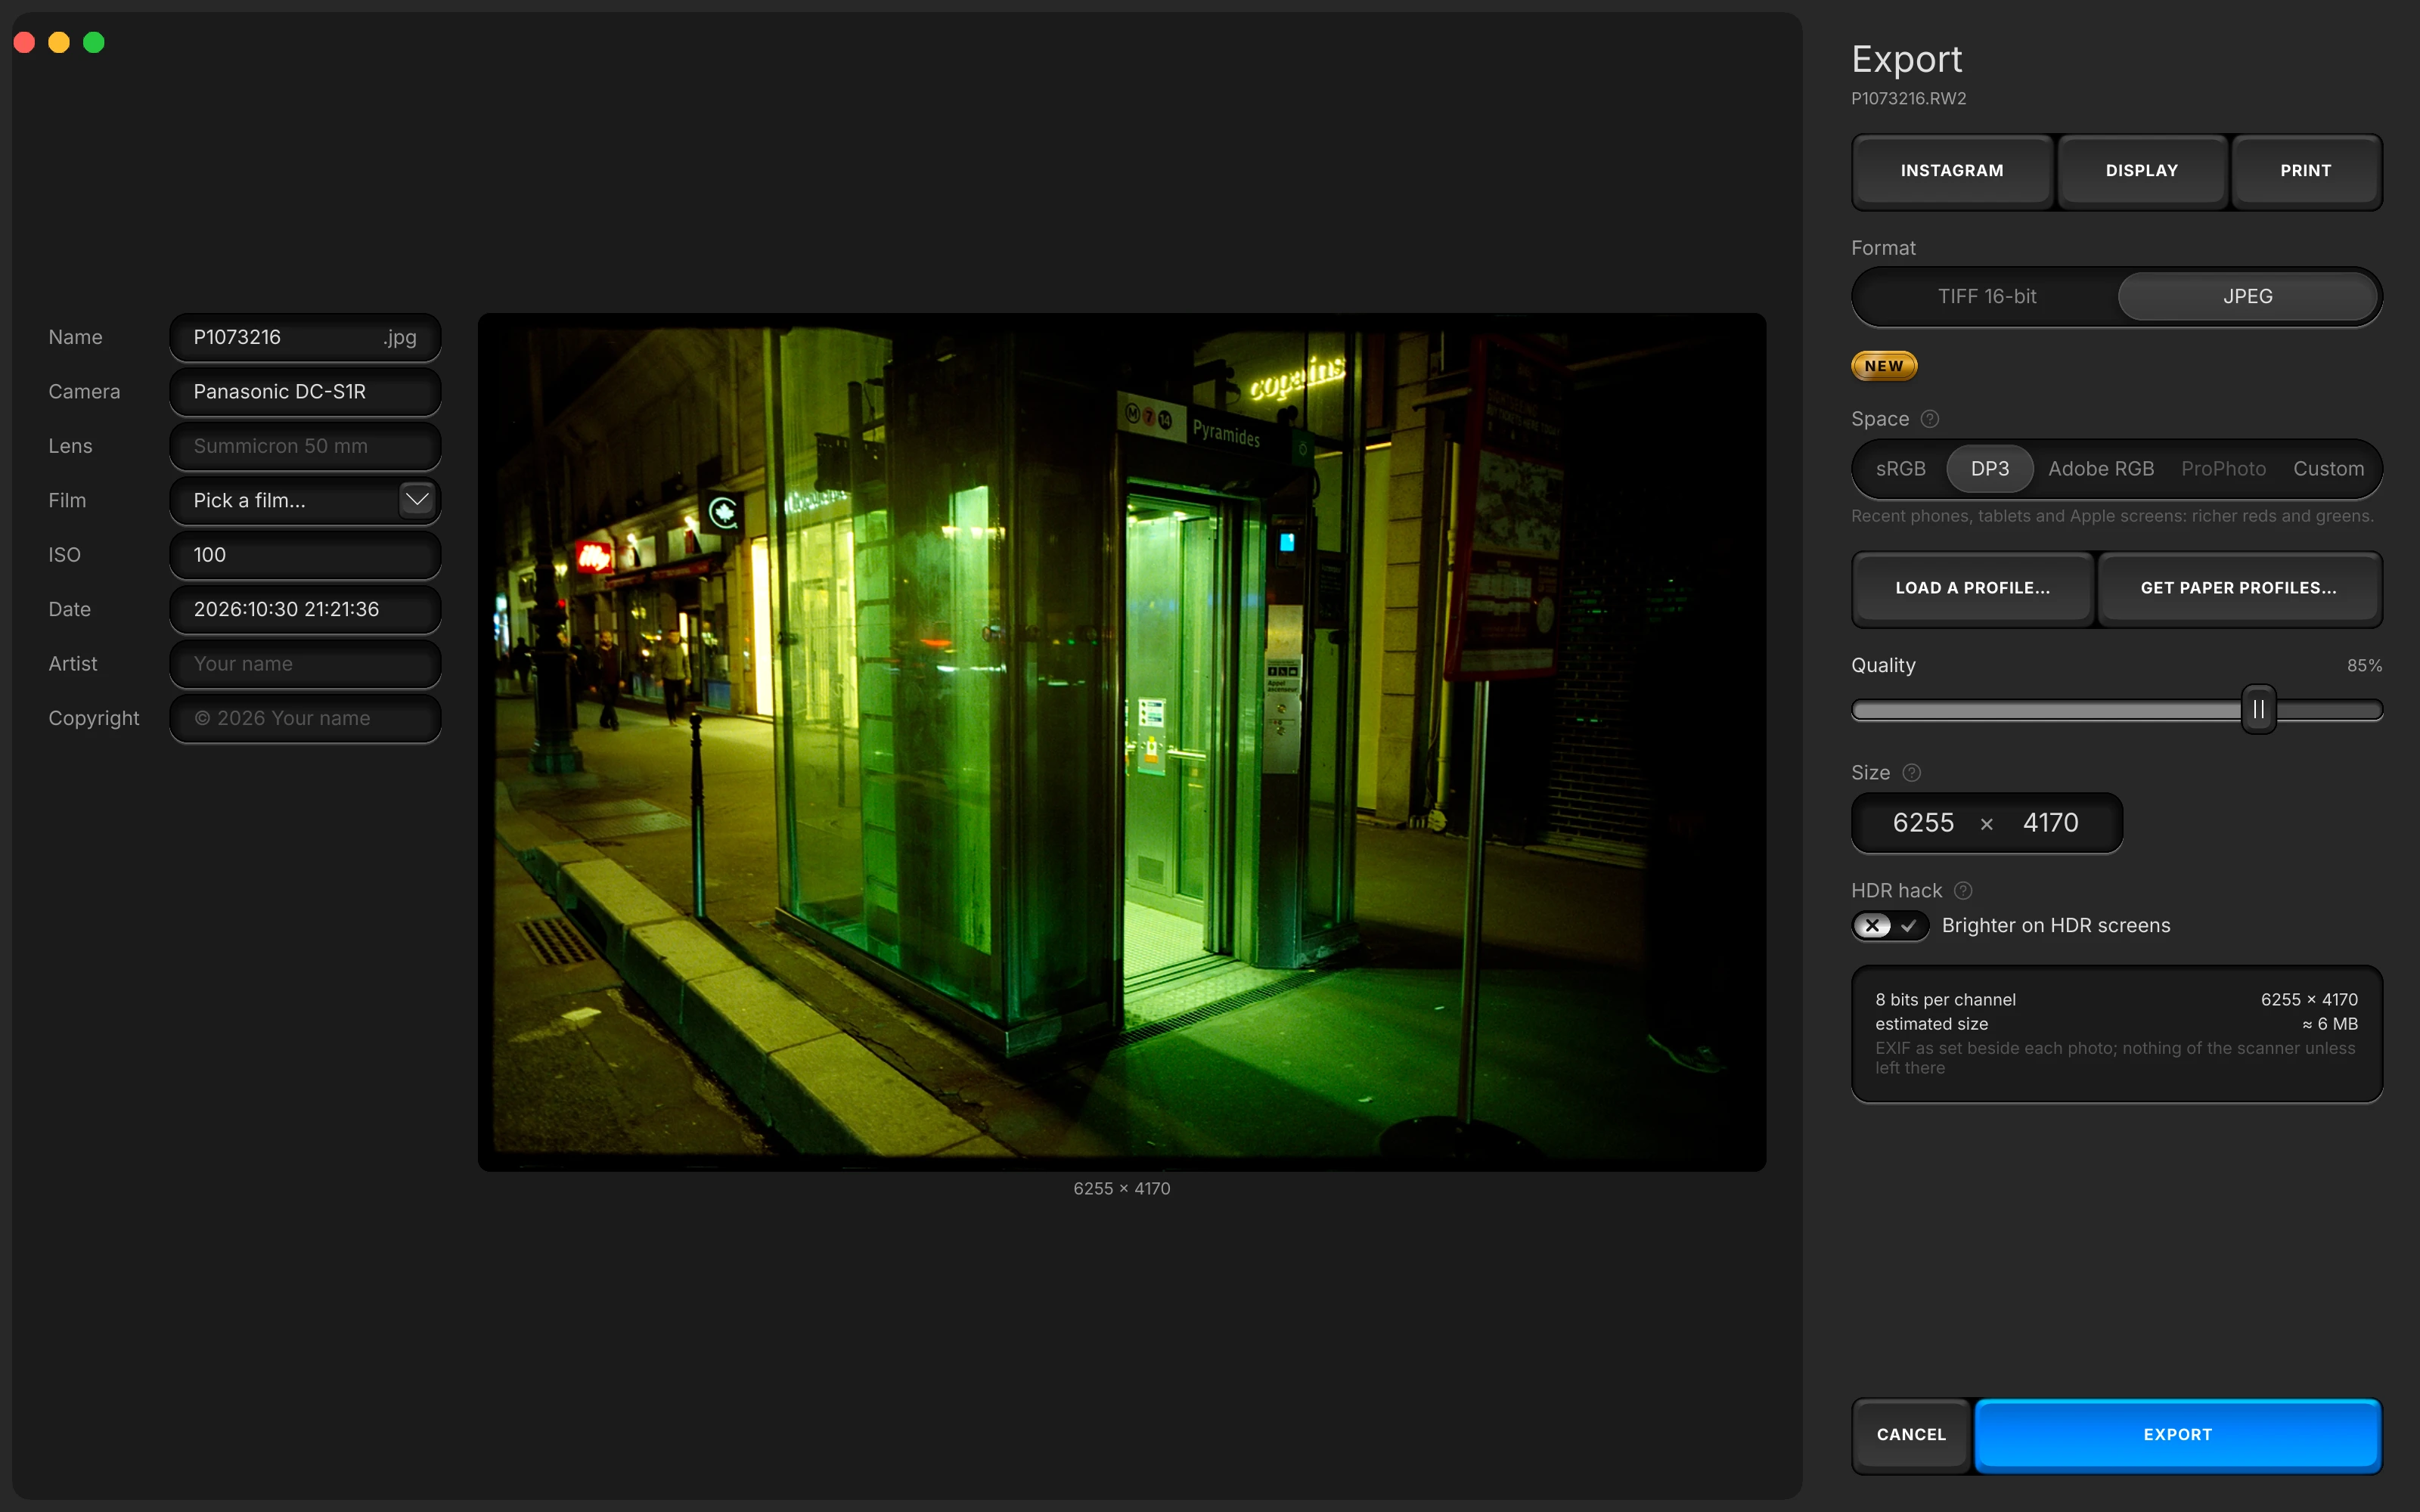
The export sheet: the Instagram, Display and Print presets, JPEG chosen over TIFF 16-bit, and DP3 as the space.

From your edited photo to a file, in three steps.

Open the export, pick a format, pick a space. Or start from Instagram, Display or Print, which set every row at once and lock none of them.

  • Open the export. Press EXPORT in the editor's toolbar, or ⌘E (Ctrl+E on Windows).

  • Pick the format. TIFF at 16 bits to keep every tone for a print or more editing, JPEG to share. JPEG is the default.

  • Pick the space. Display P3 by default; sRGB, Adobe RGB, ProPhoto, or a lab's or a paper's ICC profile under Custom.

Your camera and your film, in the file.

The EXIF is yours to write. A scan's EXIF names the scanner and the day it was read. Beside each photo, one line lets you write the camera, lens, film, ISO, date, artist and copyright instead.

Read the research

  • Seven fields, per photo. Camera, Lens, Film, ISO, Date, Artist and Copyright, on a line beside each file name.

  • Empty writes nothing. A field left blank writes no tag at all, and the film goes in the file's description.

  • It starts on your roll. The camera and film stock you gave the roll, the artist and copyright you last wrote: nothing of the scanner unless you leave it there.

Brighter on HDR screens, the same everywhere else.

A gain map adds light, not a look. Switch on Brighter on HDR screens for a JPEG: an HDR screen shows your photo up to two stops above the page's white, and every other reader sees exactly the same picture.

Any other screenAn HDR screen, +2 stops-6-4-2page white+2Brightness, in stops from the white of the page →
The same photo, on two screens. The gain map is flat: on an HDR screen it lifts every tone by two stops, and nothing else changes. A diagram of the principle.

What it changes for your files.

A new file, and nothing else. Export as often as you like: once as a TIFF for the archive, once as a JPEG for the screen.

  • Your scan is untouched. An export writes a new file; the scan you imported is only ever read.

  • Never enlarged. The size stops at the original's; left empty, it writes the full resolution.

  • What you see is what you write. Your photo is edited in the space it is exported in.

Export and EXIF: questions

Formats, spaces and the file you get. The short answers first, then the detail.

What happens to my original scan when I export?

Nothing: an export writes a new file, and the scan you imported is only ever read.

Which colour space does it export in?

Display P3 by default. The Space field also offers sRGB, Adobe RGB, ProPhoto RGB (16-bit TIFF only) and Custom, for an ICC profile such as a lab's or a paper's. Your photo is edited in the same space it is exported in.

What does the HDR gain map change in my photo?

No pixel. On an HDR screen your photo shows up to two stops above the page's white; every other reader sees exactly the same picture as without it. It is the Brighter on HDR screens switch, on JPEG exports, off until you turn it on.

How large can an export be?

As large as the original: an empty Size writes the full resolution, and any size you type stops there.

Can I export a whole roll as one contact sheet?

Yes. With several photos to export, Export As offers Separate Photos or Contact Sheet: one file, five frames to a row.

What do the three presets set?

PresetFormatSpaceSizeJPEG quality
InstagramJPEGsRGB1440 px on the short side92 %
DisplayJPEGDisplay P3Full size100 %
PrintTIFF, 16 bitsAdobe RGBFull sizenone, lossless

Each one writes every row, and every row stays open afterwards. None turns the gain map on.

What do converted frames look like?

See all sixteen conversions, real photographs converted in Open Negative Initiative, each with its raw scan.

Convert your first roll tonight.

Add your folder, prepare the roll once, export. Free, and nothing else to install.

How to convert a film negative, step by step

Mac
macOS 13 or later on Apple Silicon or Intel
Windows
Windows 10 or 11 (64-bit)

Blocked at first launch?

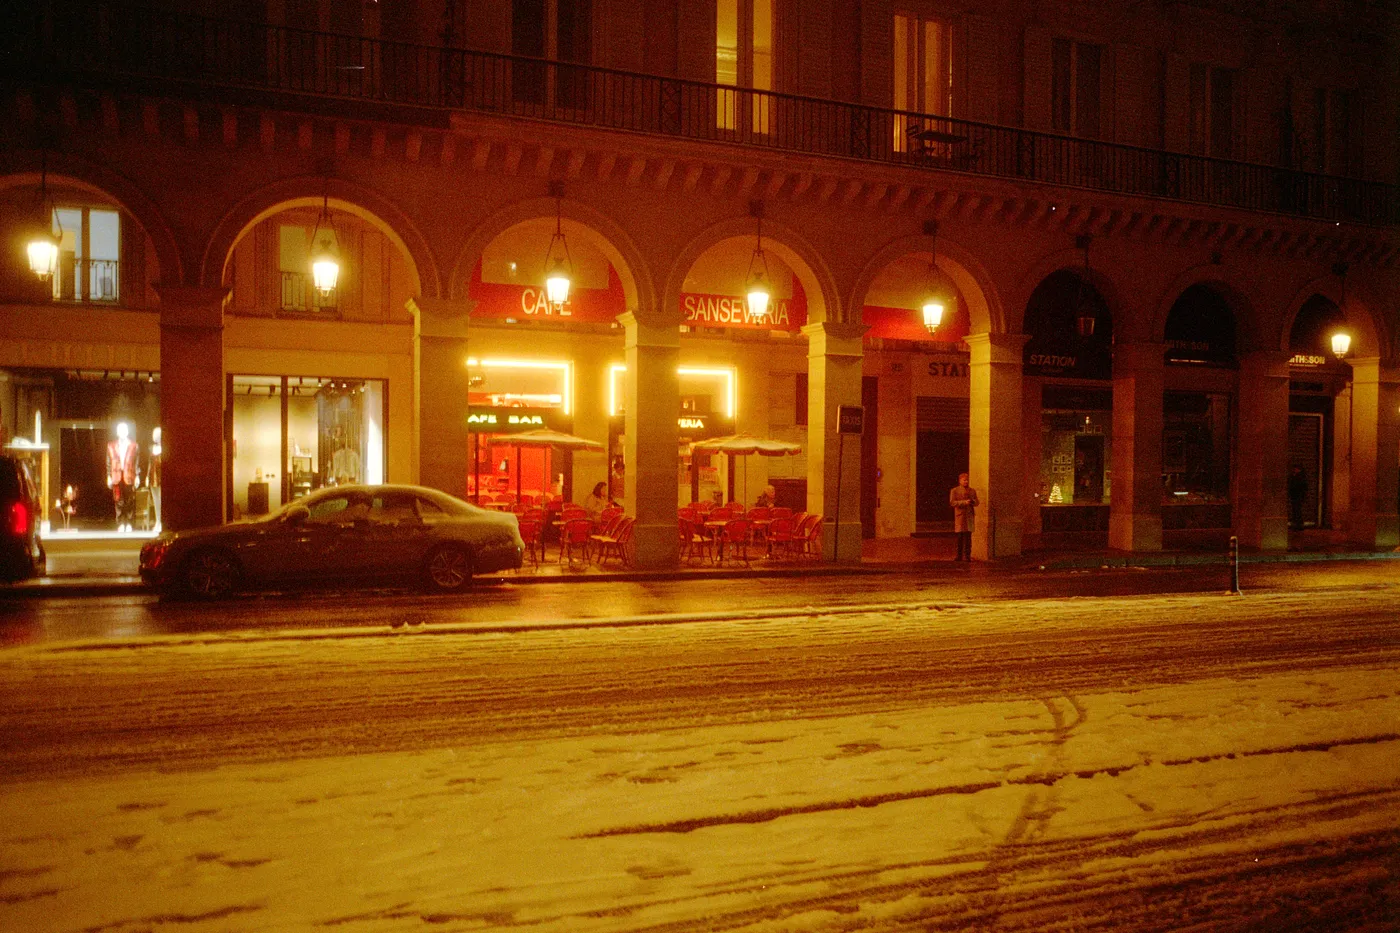
A snowy Paris street at night, a lit cafe under arcades, tyre tracks in the snow.

Snow night. Kodak Gold, converted in Open Negative Initiative.

The research.

Choose the file by where it goes. The archive, the screen and the lab read files their own way: which format, which space and which size suit which use, what the EXIF of a scan says, and what a gain map adds.

FormatPer channelLevelsCompressionWrite it for
TIFF 16-bit16 bits65,536ZIP, losslessThe archive, a print, more editing
JPEG8 bits256The Quality slider, 85 by defaultSharing
Two formats, two jobs. Levels per channel, and what each format is for.

TIFF 16-bit or JPEG

A JPEG holds 256 levels per channel; a 16-bit TIFF holds 65,536. On a finished picture you will not see the difference. You see it the day you edit the file again: lift the shadows of an 8-bit file, or stretch a soft gradient of sky, and the tones break into bands, because there is nothing between two of its levels.

So write a TIFF 16-bit for the archive, for a print, or for more editing in another app; it is compressed with ZIP, which loses nothing. Write a JPEG to share: eight bits, a Quality slider, small files that every app opens. A JPEG at a quality of 85 is the default.

whitesRGBDisplay P3Adobe RGBProPhoto RGBRec. 2020 (working)
The colours each space can hold. Each triangle joins a space's red, green and blue on the CIE 1931 chart; the primaries are the standards'. Your photo is worked in linear Rec. 2020, the dashed one, and written in the space you pick.

Which colour space, for which screen

A colour space is the range of colours a file can name. A wider one keeps more of the saturated reds, greens and cyans a colour negative holds; a narrower one is read the same way by more screens.

The Space field says what each is for. sRGB: the web and social networks, what every screen reads. Display P3, the default: recent phones, tablets and Apple screens, with richer reds and greens. Adobe RGB: print labs and photo printers, with richer cyans and greens. ProPhoto: printing at home through the printer's own profile, holding nearly every colour the conversion makes; so wide that eight bits would band it, it is written as a 16-bit TIFF.

Who opens the fileWhat they see
A viewer, a browser or a lab that reads profilesThe colours you saw on the canvas
A reader you know nothing aboutYour numbers read as sRGB: export in sRGB for it
Open Negative Initiative, as you editYour photo in its Working Space, the space the file is written in
Who opens your file, and what they see. Every TIFF and JPEG carries the ICC profile of its space.

Every file carries its profile

Each TIFF and JPEG is written with the ICC profile of its space inside it. A viewer, a browser or a lab that reads profiles shows the colours you saw; for a reader you know nothing about, sRGB is the space all of them assume.

The picture you export is also the one you edited: the space is the Working Space shown at the top edge of the canvas, where your photo is edited in it. When you already know where a roll is going, pick its space before you start.

1250100Lightness on the paper0255075100Lightness in your photoPaper blackCompensatedClipped
Your blacks, on the paper's black. On an illustrative paper whose deepest black is 12 on a scale of lightness to 100: converted without black point compensation, every shadow below it prints as one black; with it, your blacks are laid onto the paper's, and the shadows keep apart.

A paper's or a lab's profile

Print labs and paper makers publish an ICC profile for each paper on each printer: the colours that pair can actually put on paper. Under Custom, Get Paper Profiles… lists the makers and labs that publish them, and Load a Profile… takes one you already have.

Your photo is then converted relative colorimetric, with black point compensation. In plain words: every colour the paper can print stays as it is, the paper's white stands for white, and the deepest black of your photo lands on the deepest black the paper holds, so the shadows of a dense negative keep their detail on the print.

PixelsInches at 300 ppiCentimetres
1,4404.812.2
3,00010.025.4
4,50015.038.1
6,00020.050.8
Pixels and paper, at 300 pixels per inch. The long side of a file, and the print it makes at a usual figure for photo prints.

Size: what a print or a feed needs

Pixels decide how large a photo prints: at 300 pixels per inch, a usual figure for photo prints, every 3,000 pixels make ten inches of paper. For a print, keep the full resolution; for a screen, a smaller file travels faster and shows the same.

Leave Size empty and the file is written at full resolution; a size you type stops at the original's, as exports are never enlarged. The Instagram preset writes 1440 pixels on the short side, more than the feed keeps at any ratio, so its own re-encode starts from more than it needs.

FieldEXIF tag written
CameraModel
LensLensModel
FilmImageDescription
ISOISOSpeedRatings, as a number
DateDateTime and DateTimeOriginal
ArtistArtist
CopyrightCopyright
Seven fields, and the tags they write. A field left empty writes no tag at all.

Why a scan's EXIF names the wrong camera

When you digitise a negative, the scanner, or the camera on your copy stand, writes its own EXIF: its model, its macro lens, its ISO and the day of the scan. Your photograph was made earlier, often years earlier, with another camera, on a film of its own speed. Left as it is, any library that sorts by camera or by date files your roll under the scanner and the day you scanned it.

So each photo gets seven fields of its own: Camera, Lens, Film, ISO, Date, Artist and Copyright. The date is written as the day the photo was taken, and the ISO as a number.

FieldWhat the scan wroteWhat you write
CameraThe scanner, or the camera on your copy standThe camera you shot with
LensThe copy stand's macro lensThe lens you shot with
FilmNothingThe film stock
ISOThe scan's ownThe speed you rated the film at
DateThe day of the scanThe day you shot
The scan's EXIF, and yours. What a library sorts your roll by, before and after you write the line.

Write the speed you shot at

The ISO field is the speed you rated the film at, which is the speed on the box only if you shot it there: write 1600 for an HP5 pushed to 1600, and years later the file still tells you how the roll was developed. The Date is the day you shot, not the day you scanned.

Set the camera body and the film stock once, on the roll in your Archive, and the line of each of its frames starts on them. What you type for a photo is kept beside it, ready for its next export.

1×2×3×4×Light shown, in page whites0 %25 %50 %100 %A tone of your photo, against whiteThe page's whiteHDR screenAny other screen
Every tone, four times the light. The gain map is flat: on an HDR screen each tone of your photo shows with 4 times its light, two stops, so white goes 4 times above the page's white; any other screen shows the ordinary JPEG.

What a gain map is

An HDR screen, on a recent phone or a bright laptop, can show light above the white of a page. A gain map is a second, small picture inside the JPEG that tells such a screen how much to lift the photo; every other screen reads the ordinary JPEG beside it.

The map Open Negative Initiative writes is flat: every tone is lifted by the same ratio, four, which is two stops. Shadows, midtones and highlights keep their places against each other, so the look you edited holds, only brighter. The file carries the metadata both families of HDR readers look for.

Where the photo goesBrighter on HDR screens
A JPEG for phones and HDR screensOn
A feedOn, the file uploaded uncropped, from a desktop browser, at its original ratio
A printOff: paper has no light of its own to add
A TIFFNot written: the gain map is for JPEG files only
Brighter on HDR screens, by where the photo goes. The switch is under HDR hack in the export, off until you turn it on.

When to switch it on

For a JPEG meant for phones and HDR screens: the lamps of a night frame, a beach in full sun, a roll you share on a feed. For a print, leave it off; paper has no light of its own to add, and the gain map is written in JPEG files only, the format whose readers honour it.

The app's advice for posting: upload the file uncropped, from a desktop browser, at its original ratio. Whether a given network keeps the map is that network's decision.