Dust and scratches on a film scan

Paint over a speck, and it is gone. You brush over the dust on your photo; the app finds a matching patch in the same frame and lays it over.

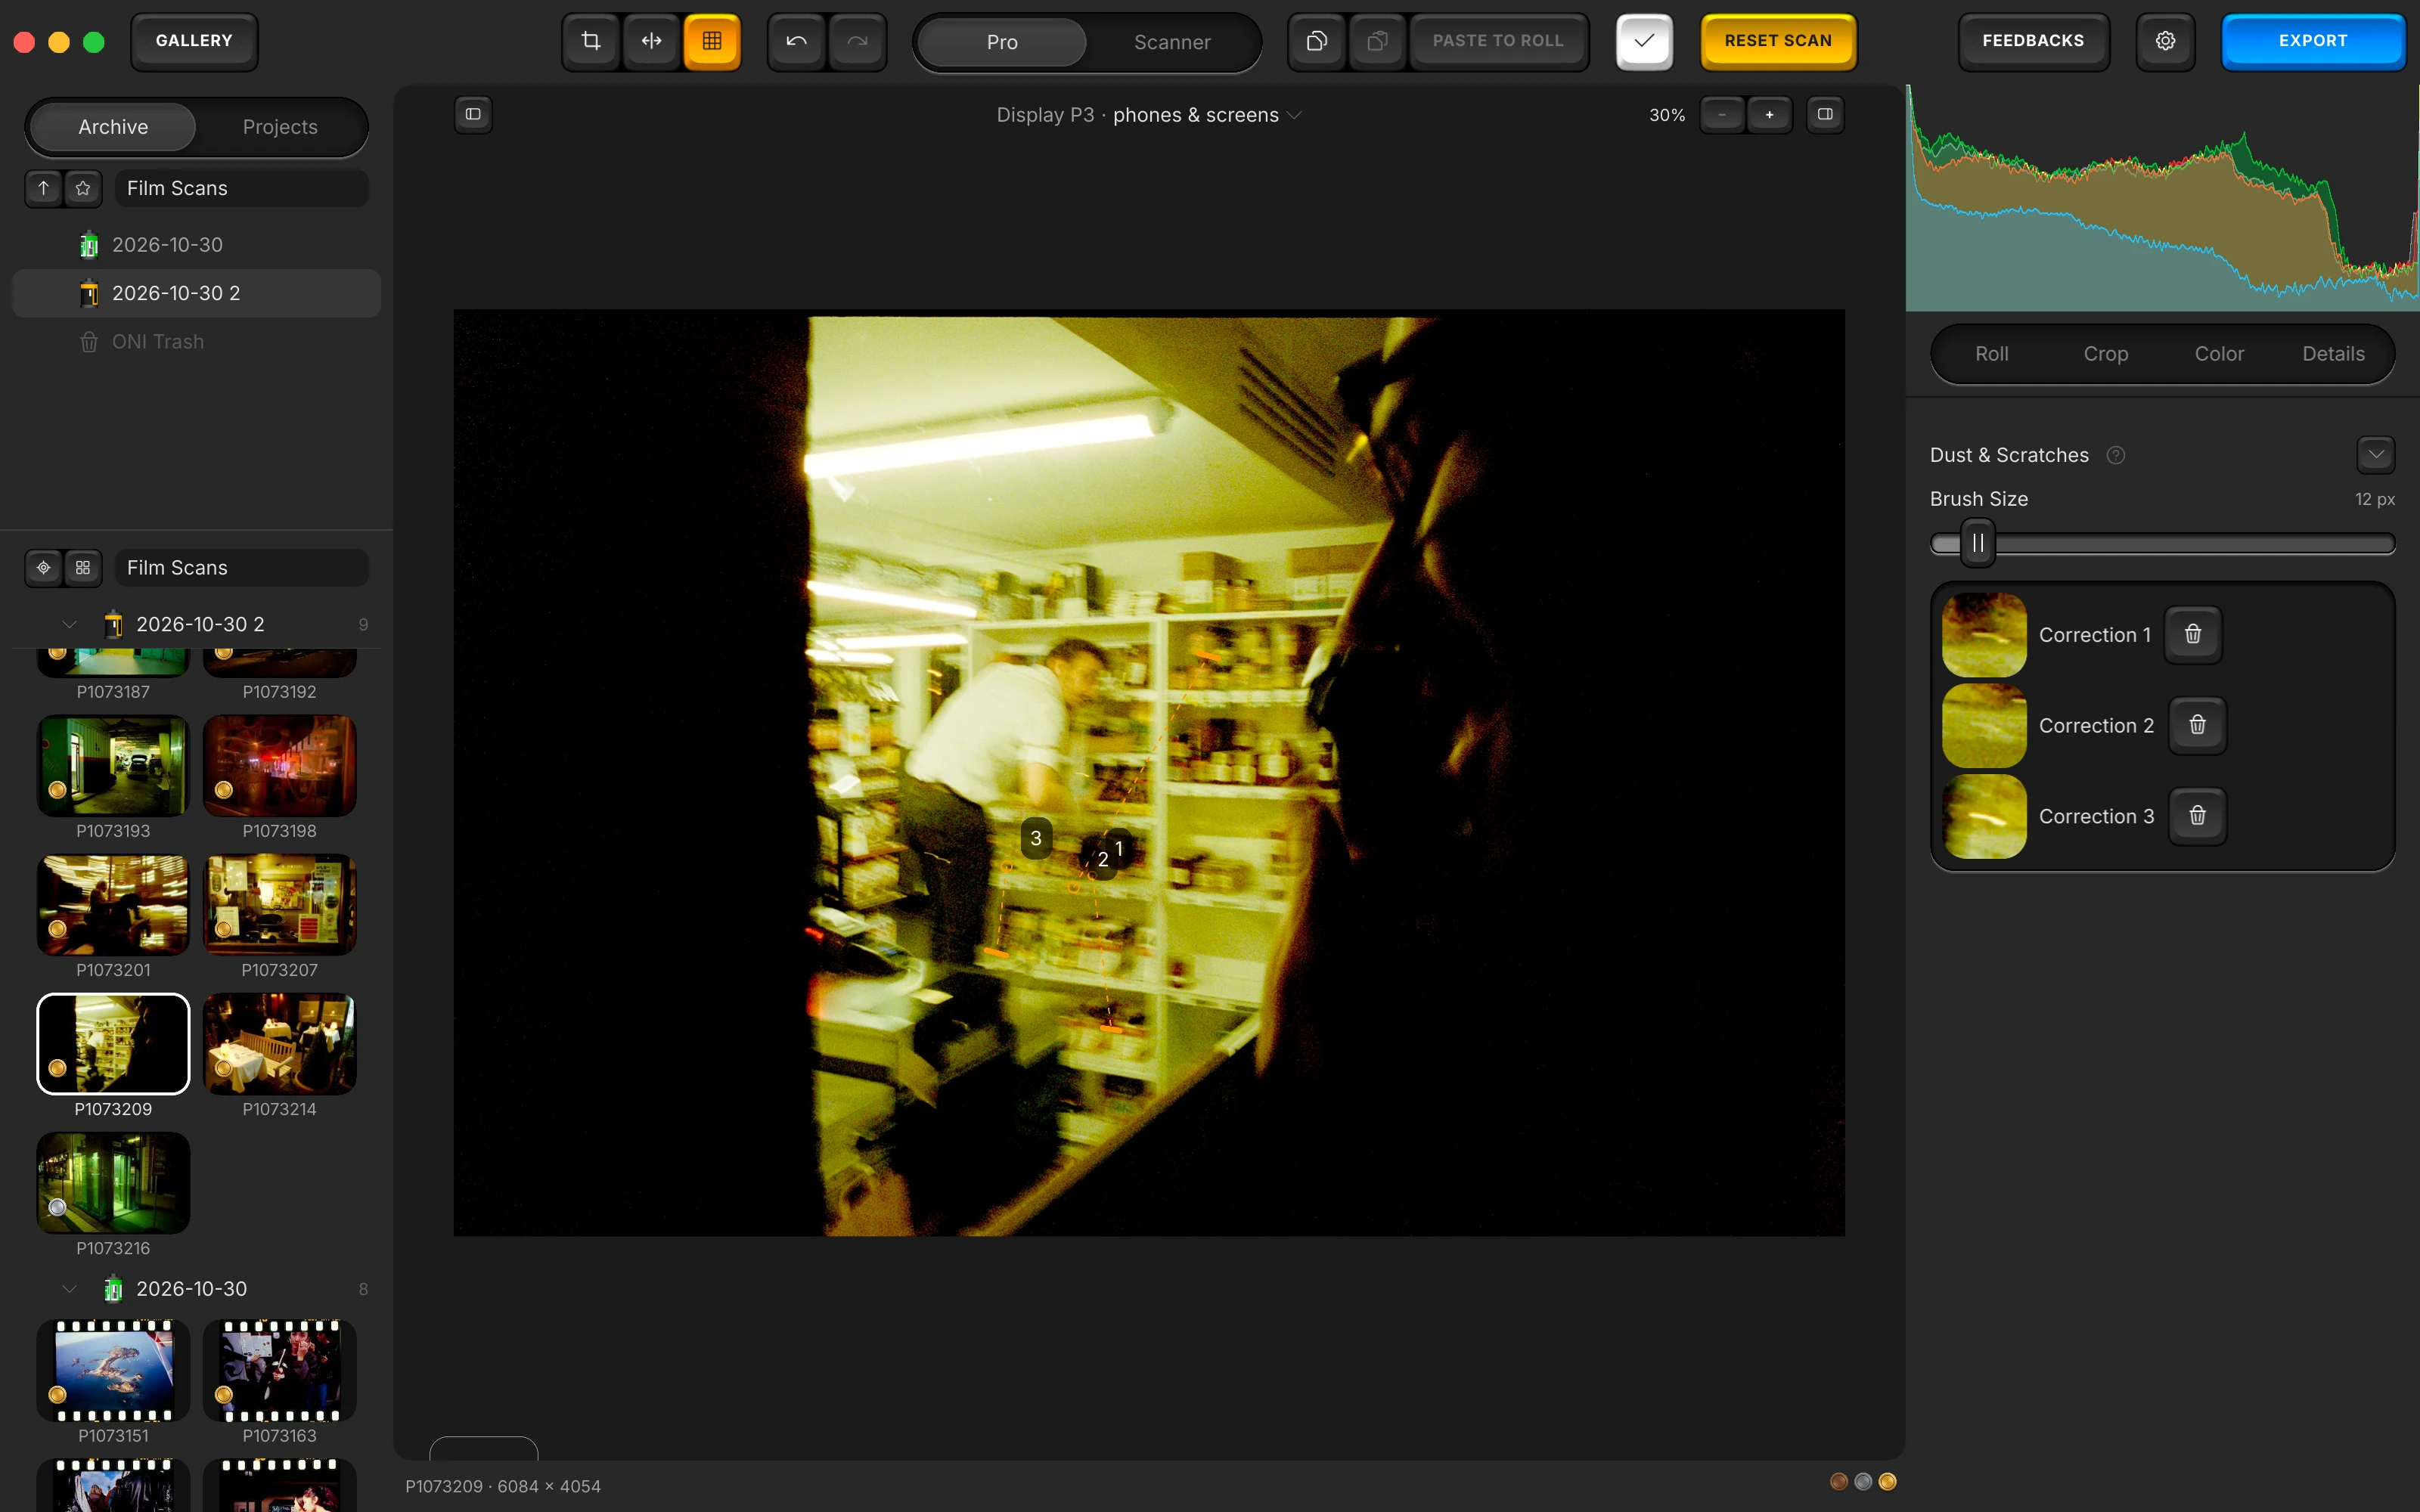
The editor in De-dust mode: the Dust & Scratches block with its Brush Size slider at 12 px, and three corrections listed under it, each with the dust it covered.

From a dusty frame to a clean photo, in three steps.

Open De-dust, paint, check the list. The brush paints on the photo you have open; the panel holds its size and the list.

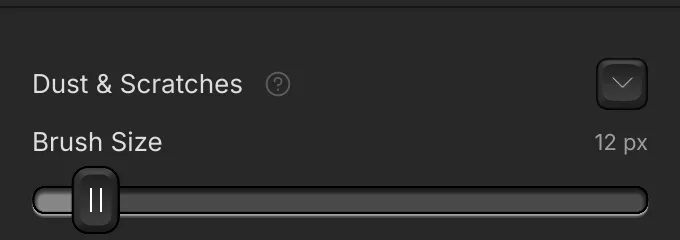
  • The Dust & Scratches block of the panel, its Brush Size slider reading 12 px.

    Pick up the brush. Click the De-dust key in the toolbar, or choose Remove Dust & Scratches in the View menu.

  • Paint over the speck. The pointer becomes the brush's circle. [ and ] make it smaller or bigger, four pixels a press.

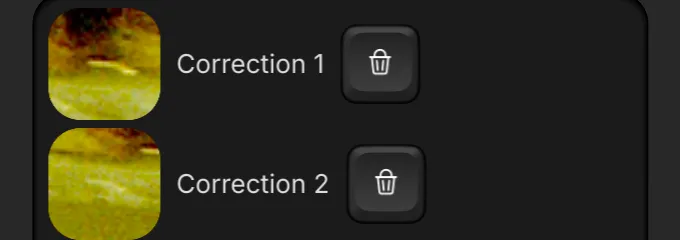
  • The list of corrections: one row per stroke, the dust it covered, its number and a bin.

    Check the list. Each stroke gets a number on your photo and a row in the panel; the bin on its row takes it off.

The dust goes, the grain stays.

The patch comes from your own photo. Paint over what the scan caught: the patch that covers it is taken from the same frame, so it carries the same grain, under the same light.

Read the research

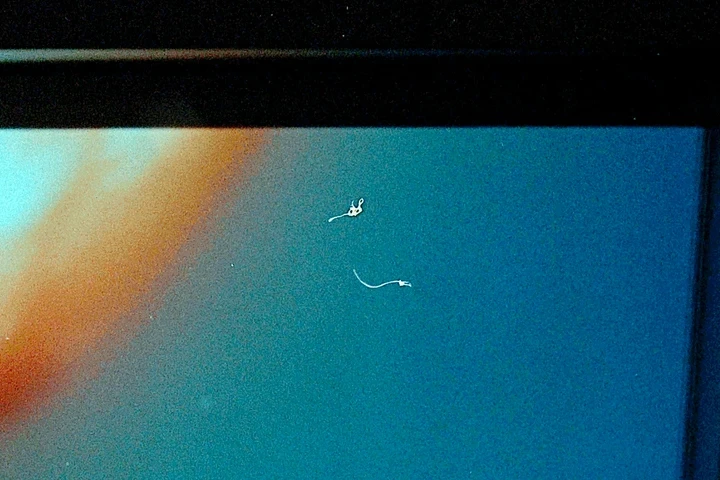
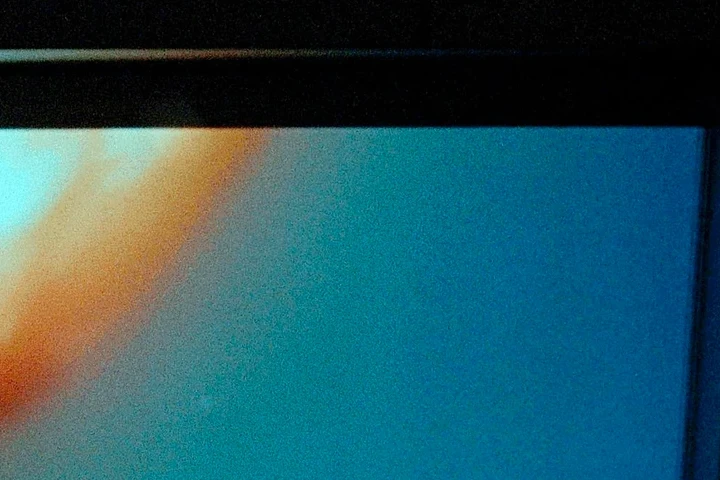
A 100 % crop of a colour frame, a blue wall beside an orange and red blur, with two pale dust fibres on the blue.
Before. Two pale fibres that settled on the negative before the scan.
The same crop after two brush strokes: the fibres are gone and the grain of the blue is unchanged.
After two strokes. The same crop, at the same size: the fibres are gone, the grain of the blue is untouched.
your strokethe best match
How the patch is found. Your stroke covers the defect; places nearby in the same photo are compared with what surrounds it, and the best match is copied over, its tone matched to the spot. A diagram of the principle.

What it changes when you clean your photo.

Every stroke stays yours to undo. Each correction is numbered on the photo and listed beside it, with the dust it covered.

  • Every patch comes from your photo. The brush copies the closest matching patch from your own frame, and the corrections list flags a patch worth a second look.

  • Your scan stays as it was. The corrections live beside the file and reach your export.

  • One negative, its own corrections. They stay with the frame they were painted on, while pasted settings and presets carry your look: dust belongs to this frame.

Dust and scratches: questions

Dust, the brush and your scan file. The short answers first, then the detail.

Does it find the dust on its own?

Your brush stroke finds it: you paint over the speck, and the app covers exactly that place. A frame you leave unpainted comes out as it was.

How does the brush find its patch?

With a classical search, on the GPU where there is one: it compares the surroundings of your stroke with other places nearby in the same photo, and copies the one that matches best. Every pixel of the patch comes from your own photo.

Does it change my scan file?

Your scan file stays as it was. A correction lives beside it, reaches your export, and comes off the moment you remove its row.

Can I paste my corrections onto other frames?

Pasted settings and presets carry your look; corrections stay with the negative they were painted on. Dust belongs to one negative, and pasted it would paint dust onto another photo.

How do I move around a zoomed photo while correcting?

Hold Space: the pointer becomes a hand, and dragging moves the photo instead of painting.

What does the brush look like on a speck?

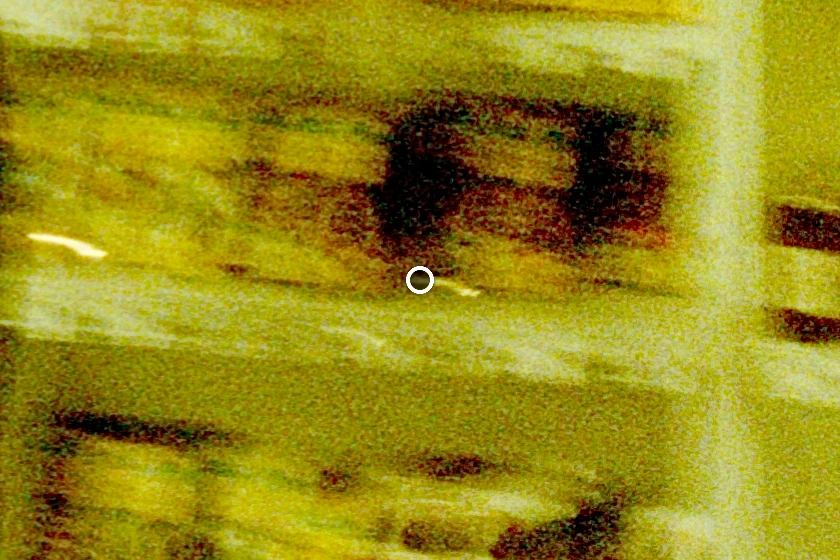
A 100 % view of a colour photo with the brush's thin circle resting on a pale fibre of dust, before the stroke.
The brush at its default size, 12. Its circle on a pale fibre of dust, the photo at 100 %, before the stroke.

How do I put the brush down?

Click the same toolbar key, now Leave De-dust, or choose Done Correcting in the View menu. Your corrections stay.

What do converted frames look like?

See all sixteen conversions, real photographs converted in Open Negative Initiative, each with its raw scan.

Convert your first roll tonight.

Add your folder, prepare the roll once, export. Free, and nothing else to install.

How to convert a film negative, step by step

Mac
macOS 13 or later on Apple Silicon or Intel
Windows
Windows 10 or 11 (64-bit)

Blocked at first launch?

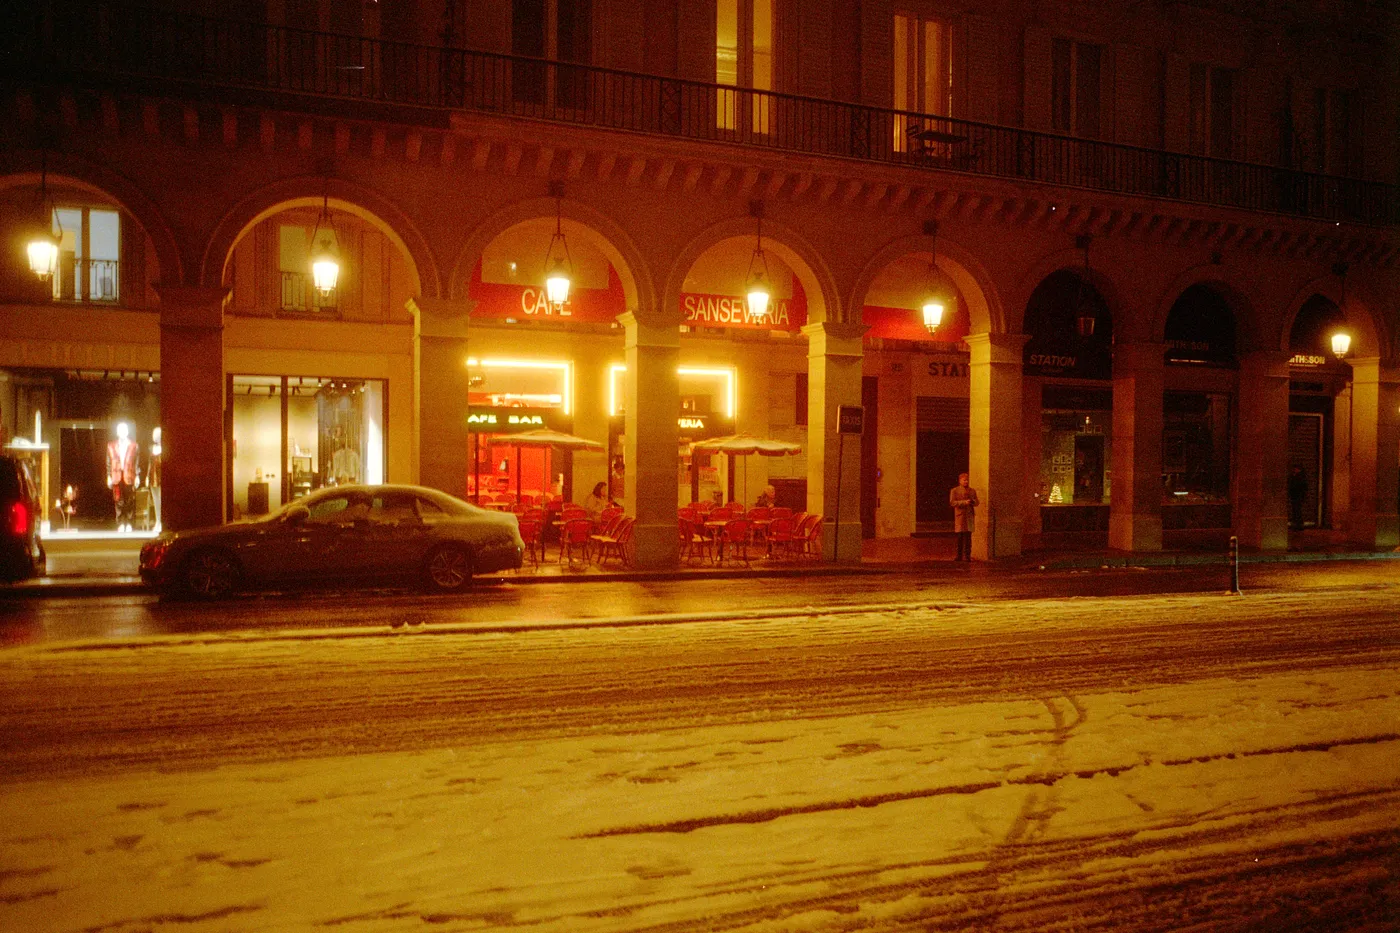
A snowy Paris street at night, a lit cafe under arcades, tyre tracks in the snow.

Snow night. Kodak Gold, converted in Open Negative Initiative.

The research.

Know the defect, and you know how to paint it. A speck on the film, a line along the strip: each one shows on your scan in its own way, and each one asks for its own stroke.

The scan of a negativeYour photo, convertedA slide, as scannedDarkBrightDark
One speck, three readings. A row of pixels across a speck, on illustrative values. The speck blocks the light, so the scan reads it dark; the conversion of a negative turns it bright. A slide, kept positive, keeps it dark.

Why dust prints white

A speck sitting on a negative blocks the light that would have passed there. The scan reads it as dense film, and once inverted, dense becomes bright: dust and hair show on your photo as white spots and pale threads, sharpest when they lie on the emulsion side. On a slide, read as it is, the same speck stays dark.

Where the scratch isWhat it doesOn your photoYour stroke
The base side, shinyScatters the lightA pale lineAlong the line, just over its width
The emulsion side, matteTakes image dye awayA dark or coloured lineAlong the line, just over its width
Two sides of the film, two marks. On a colour negative. Either way, one stroke along the line covers it.

Scratches, base side or emulsion side

A scratch on the shiny base side scatters light, and on a negative it prints as a pale line. A scratch through the emulsion takes image dye away with it, and prints as a dark or coloured line. Both are paths along the film: drag the brush along the line in one stroke, at a size just over its width.

Light behind the filmDustShallow scratches
Diffuse, like a light panelA softened shadowLight wraps around them, and many fade
Hard and focusedA crisp shadowEvery one rendered crisp
The same roll under two lights. What the light behind your negative does to its defects.

Your light decides how much shows

A diffuse light behind the film, like the light panel of a camera scan, wraps around shallow scratches and softens the shadow of dust. A hard, focused light renders every one of them crisp. If a roll comes out heavy with defects, a more diffuse light on the next scan saves you strokes.

WhenWhat to doWhy
Between scansKeep the strips in archival sleeves, and handle them by their edgesFingers and open air leave prints and dust on the film
Just before the scanBlow each strip with a rubber bulb, then sweep it with an anti-static brushLoose dust comes off, and less static draws more back
At the scannerClean the holder, and the glass or panel under the filmA speck there lands on every frame of the roll
After the scanPaint what still showsThe brush covers exactly the place you paint
A clean scan, step by step. Each speck kept off the film is one stroke fewer on your photos.

Fewer specks before the scan

Handle the strips by their edges, and keep them in archival sleeves between scans. Just before scanning, blow each strip with a rubber bulb and sweep it with an anti-static brush, then clean the holder and the glass or panel under it: a speck there lands on every frame of the roll. What still shows, you paint.

Just over the speckFar too bigBrush 12 px, speck 8 pxBrush 40 px, speck 8 px
Just over the speck, not far past it. A diagram on illustrative sizes: a speck of 8 pixels under the default 12 px brush, and under a 40 px one. The dashed ring stands for the surroundings the search compares; with the small brush they are the picture around the speck, not a wide patch of your photo.

Size the brush to the defect

Zoom in with Zoom In in the View menu (⌘+ on a Mac, Ctrl and + on Windows), hold Space to move around the photo, and bring the brush just over the speck with [ and ]. A brush that covers only the defect leaves the most of your own picture around it, and gives the search a clean ring to match.

StepWhat the app does
SearchTries many shifts around your stroke, each scored by how well its ring matches the ring around the stroke
CopyLays the best place over the stroke
ToneEvens the patch out with a gentle gradient, so it sits in the light of the spot
EdgeSoftens the seam into the photo around it
No real matchLays a plain shifted tile, and puts a question mark on its row
From your stroke to its patch. Every pixel of the patch comes from your own photo.

How the patch is chosen

Around your stroke, the app tries many shifts and scores each by how well the ring around the stroke matches the same ring at that shift. The search runs on the GPU where there is one, and on the processor otherwise. The winner is copied over the stroke, its tone evened out by a gentle gradient so it sits in the light of the spot, and its edge is softened.

Where nothing nearby is a real structural match, the patch is a plain shifted tile, and a question mark on its row tells you to take a second look.

WhatWhere it stays
Brush SizeWith you, from photo to photo, from 4 to 120 px
Each strokeAt the size it was painted with
Each correctionBeside your scan file: numbered on the photo, listed in the panel
Your exportCarries every patch
Pasted settings and presetsCarry your look, never the corrections
What stays where. Your scan file stays as it was; the bin on a row takes its correction off.

What the brush remembers

Brush Size runs from 4 to 120 pixels of your file and starts at 12. It follows you from photo to photo, and each stroke keeps the size it was painted with.

Each row shows the dust under its patch, to remember what the corrected photo no longer shows. While a patch is being made, its row reads Generating…, and each patch appears on your photo as soon as it is ready.