The app is Open Negative Initiative, a free download for the Mac. Every step below is one click or one drag.
1. Bring the files in
Drag your scans into the window. Nothing is copied, moved or modified.
2. Crop to the picture
Crop inside the image, so the film edge and the lightbox stay out of the frame. The histogram and the balances only count what you keep.
3. Check the mode
It already says Negative. Change it in the top bar only for slide film or black and white.
4. Press one automatic balance
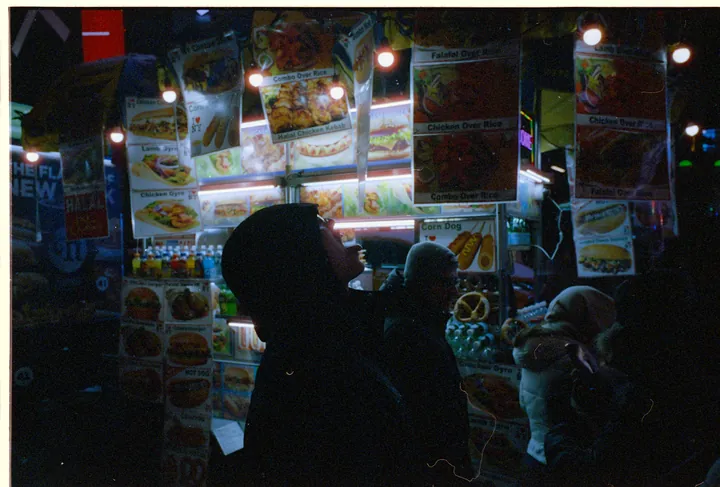
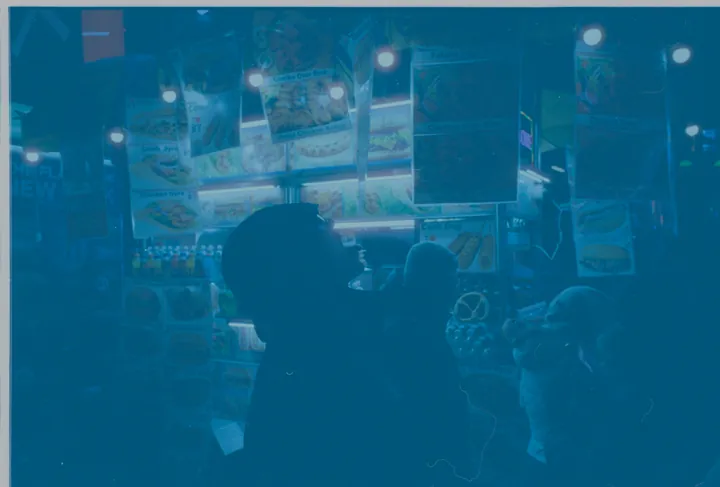
Press AVG in the Color panel. If the colour looks off, try Mids. One undo takes it back.
Crop before using the automatic balance
In the manual: Automatic balance
5. Adjust two things
Exposure for brightness, Temperature for the colour of the light. Leave the rest for later.
In the manual: Exposure, Temperature and Tint
6. Export
Select the frames, choose JPEG or TIFF and a colour space, and export.
If it does not look right
- Flat, milky or cyan on opening. Normal: nothing is placed yet. Press one balance.
- The colour is stubborn. Blue is the difficult channel. Look there first.
- One area stays mottled whatever you do. The scan clipped there. Rescan that frame a little brighter.
- The whole roll needs it. Select the roll and press one balance: each frame is measured on its own.
What you need
- A Mac. macOS 13 or later. Apple Silicon and Intel.
- A camera on a copy stand, or a flatbed or film scanner that writes TIFF or DNG.
- An even light behind the film, CRI 95 or better. Not a phone screen.
- RAW files, not JPEG, with a margin of film edge around the picture to crop into.
Curious why it works? Density inversion is the idea, and the list of what the app does is the map.
Free. No account, no trial limit, no watermark.