Presets
Presets in Open Negative Initiative: a look you saved, laid on your next photo in one click. The deck under the photo, the Save a Preset sheet and its eighteen switches, the Settings menu, and Copy and Paste for a look you did not save.
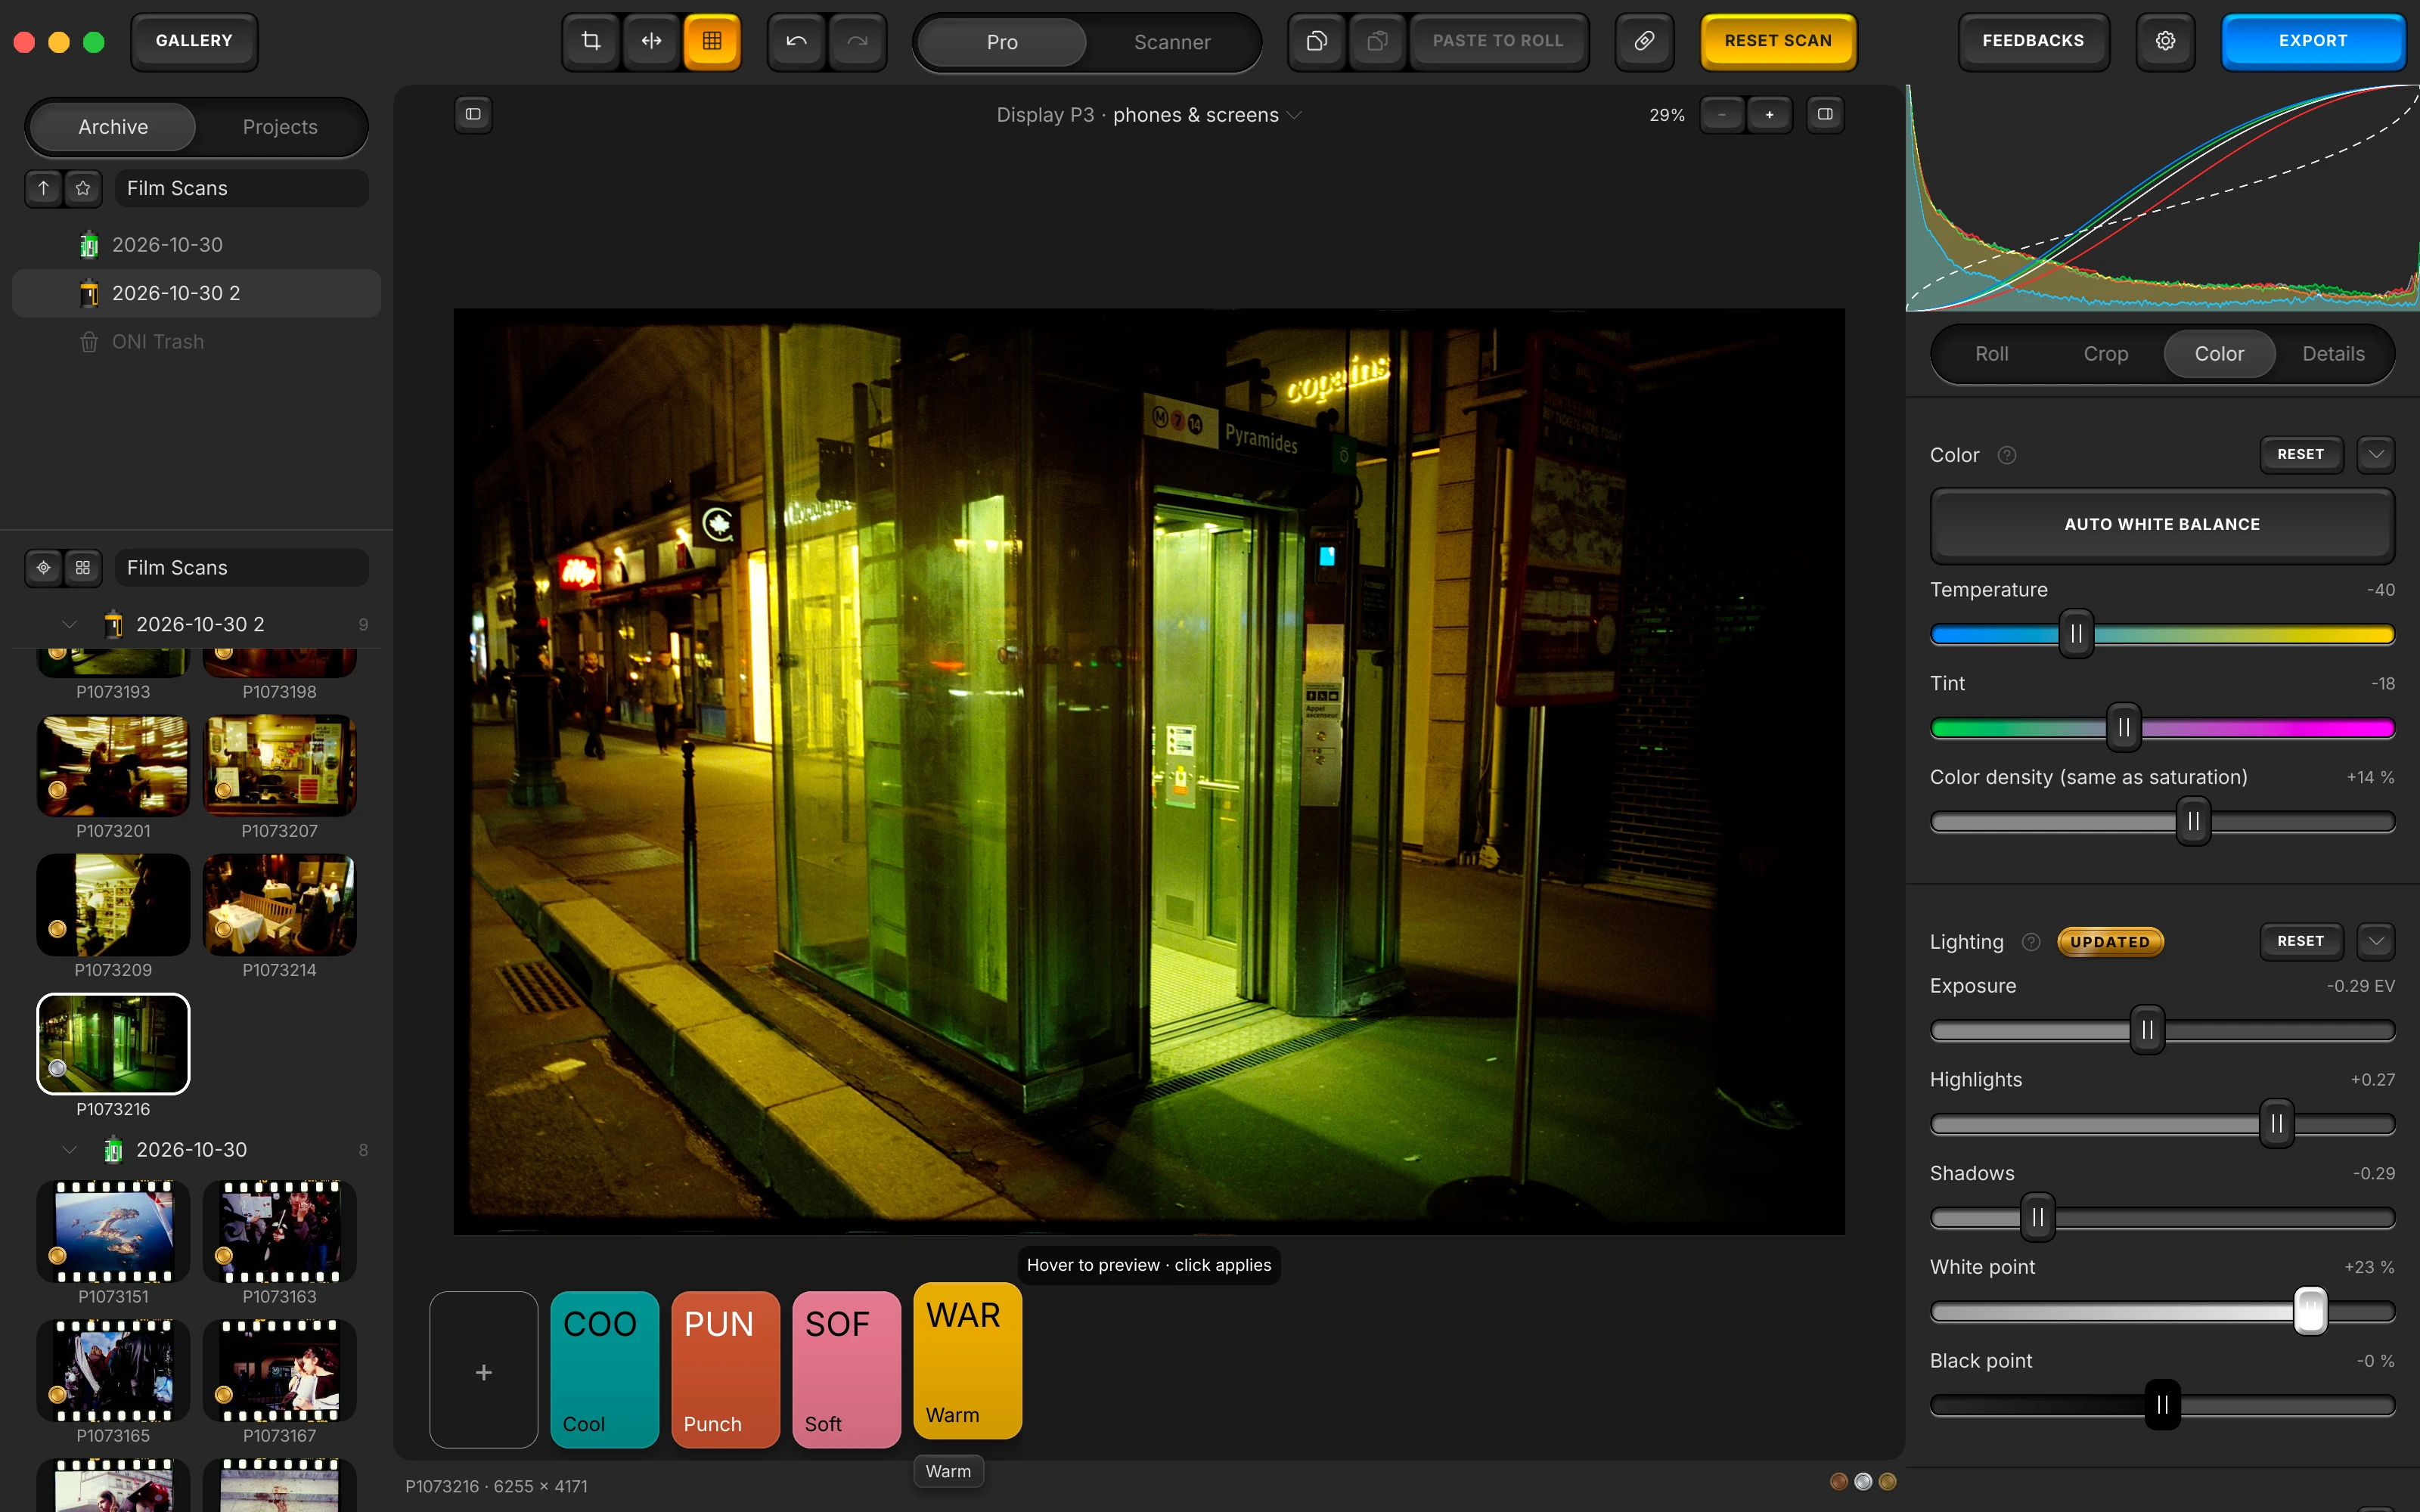
The deck
A preset is a look, saved in one file of its own. The deck is where you meet your presets while editing, under the photo.
The deck
Your presets stand as cards along the bottom of the photo, a thin strip until the pointer reaches it. Hover a card to preview it on your photo; click to apply it to the selection, or to the open photo. The last card, a +, saves this photo's settings as a new preset.
- A right click on a card: Edit…, Update with Current Settings, Duplicate, Share Preset…, Copy Preset Code and Delete.
- Update with Current Settings asks first, then replaces the settings the preset stored; its name, colour, description and switches stay.
- Delete sends the preset's file to the Trash, where it can be put back; photos it was applied to keep their settings.
- The deck stands aside under the Crop tab, whose handles use that edge, and on the Scanner face.
Saving
Save as Preset… in the Settings menu, or the deck's last card. The sheet asks for a name, a colour and what the preset carries.
Save a Preset
Save a Preset asks for a Name, a Color for its card, and what it Carries: the switches open on every setting your photo moved, the white balance left out. Save stays dark while the name is blank.
- Edit Presets… lists your presets beside the same form, with a Description, and Duplicate, Share…, Copy Preset Code, Delete and Done; an edit is saved as soon as you pause.
- A preset is one file of its own: Share… writes it where you choose, to send; Copy Preset Code puts it on one line of text, to paste in a message.
Carries
A preset stores the names of the switches it was saved with, and their values. The white balance is a choice rather than a switch.
The app's own note on Carries
A preset never carries crop, straightening, rotation or the conversion mode.
What a preset carries
Eighteen switches in four blocks, Settings, Color, Details and Scanner, each all or nothing. The white balance is a choice of its own, at the head of Color.
- Lighting carries Exposure, Shadows, Highlights, Black point, White point and Contrast too, though Contrast sits in Effects.
- Scanner Keypad carries the Scanner face's letters, its machine and its finish, and the face with them: a preset saved on the Scanner face opens your photo on it.
- A preset carrying nothing is allowed, and the sheet says so: applying it changes no setting.
- Settings
- Source Encoding, Flat-Field, Dye Separation
- Color
- Color (Temperature, Tint), Color Density, Chroma Decompression, Lighting, Vignette, Chrome, Paper Correction, Curves, Density Ceiling, Spectrogram Finishing, Saturation Curve
- Details
- Sharpening, Chroma Denoise, Texture
- Scanner
- Scanner Keypad
White balance in a preset
A choice rather than a switch, in the Color block: Not carried, Copied WB (gains + per-channel levels), or Automatic WB (Temperature, Tint), which runs Auto White Balance on each photo the preset lands on.
In the app, the beside White balance says:
Not carried leaves every photo its own balance. Copied WB pastes this photo's gains and per-channel levels as numbers. Automatic WB re-measures each photo it lands on.
- A new preset opens on Not carried, whatever your photo moved: a look never carries a balance unasked.
- Copied WB makes sense within one roll digitised on one rig, where the numbers really are the same.
- A preset naming a former automatic balance gets Auto White Balance instead.
Copy and paste
The quick way to spread a look without saving a preset.
Copy Settings, Paste Settings, Paste to Roll
Copy Settings (⇧⌘C) and Paste Settings (⇧⌘V) carry the Color and Details tabs whole, rest values included, and nothing else. Paste to Roll lays them on the open photo and every photo of its roll.
- The same three gestures are keys in the centre of the bar, the last one PASTE TO ROLL.
- A paste lands on the selection if there is one, else on the open photo, and its title counts: Paste Settings to 12 Photos, Paste to Roll (36 Photos).
- Pasting onto a photo of another roll asks first: a look made on one roll's window may not hold on another's.
- The Roll tab's settings and the framing never travel this way.
The rest of the manual.
Every surface of the app, in the order of your work. From the folder of scans to the exported file.
- ArchiveOpening the folder of your scans, your folders and favourites, the Archive and Projects tabs, a roll's own facts, the Rolls and Labels menus, and the ONI Trash.
- Prepare the RollThe five steps a roll goes through before its frames are edited: film, flat-field, film base, flags, measuring frame, then Measure.
- RollWhat a roll shares: film type, flat-field, source encoding, the manual balance, the levels, dye separation and Balance strength.
- CropThe framing's own Copy and Paste, aspect ratio, straightening, quarter turns and mirrors, and the measuring window.
- ColorAuto White Balance, Temperature and Tint, Lighting, Effects, Curves, the finishing blocks, and Paper Correction on a paper profile.
- DetailsSharpening, chroma denoise and texture, the stages that act on the grain, judged in the loupe at full resolution.
- De-dustThe brush for dust and scratches, its size, and the list of corrections painted on the open photo.
- ScannerThe Scanner face: ONI or Frontier, a lab scanner's keypad of D, C, M, Y and TEMP, and the finish laid after its render.
- ExportThe export screen: three presets, format, space and paper profiles, size, the HDR hack, each photo's EXIF line.
- Toolbar and menusEvery key of the bar and of the canvas margin, and every menu item with its shortcut.
- The whole manualEvery surface on one page, in the order a roll goes through the app.
- The guideYour first negative converted, step by step.
Convert your first roll tonight.
Add your folder, prepare the roll once, export. Free, and nothing else to install.
- Mac
- macOS 13 or later on Apple Silicon or Intel
- Windows
- Windows 10 or 11 (64-bit)
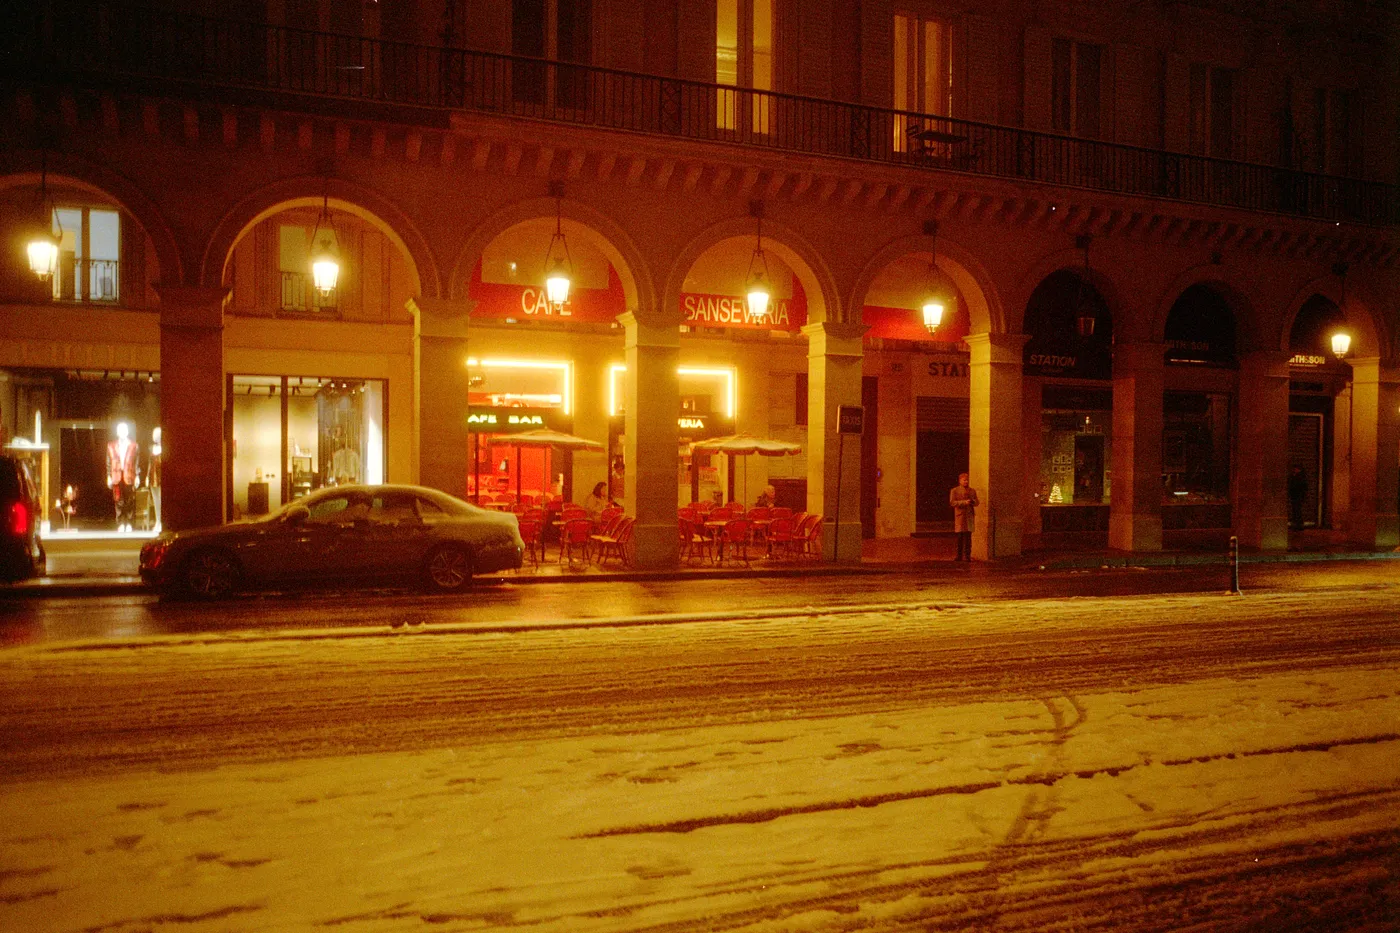
Snow night. Kodak Gold, converted in Open Negative Initiative.