De-dust
Dust and scratches off your negative, in Open Negative Initiative. Paint over a speck and the app lays a matching patch from the same photo over it, one correction at a time.
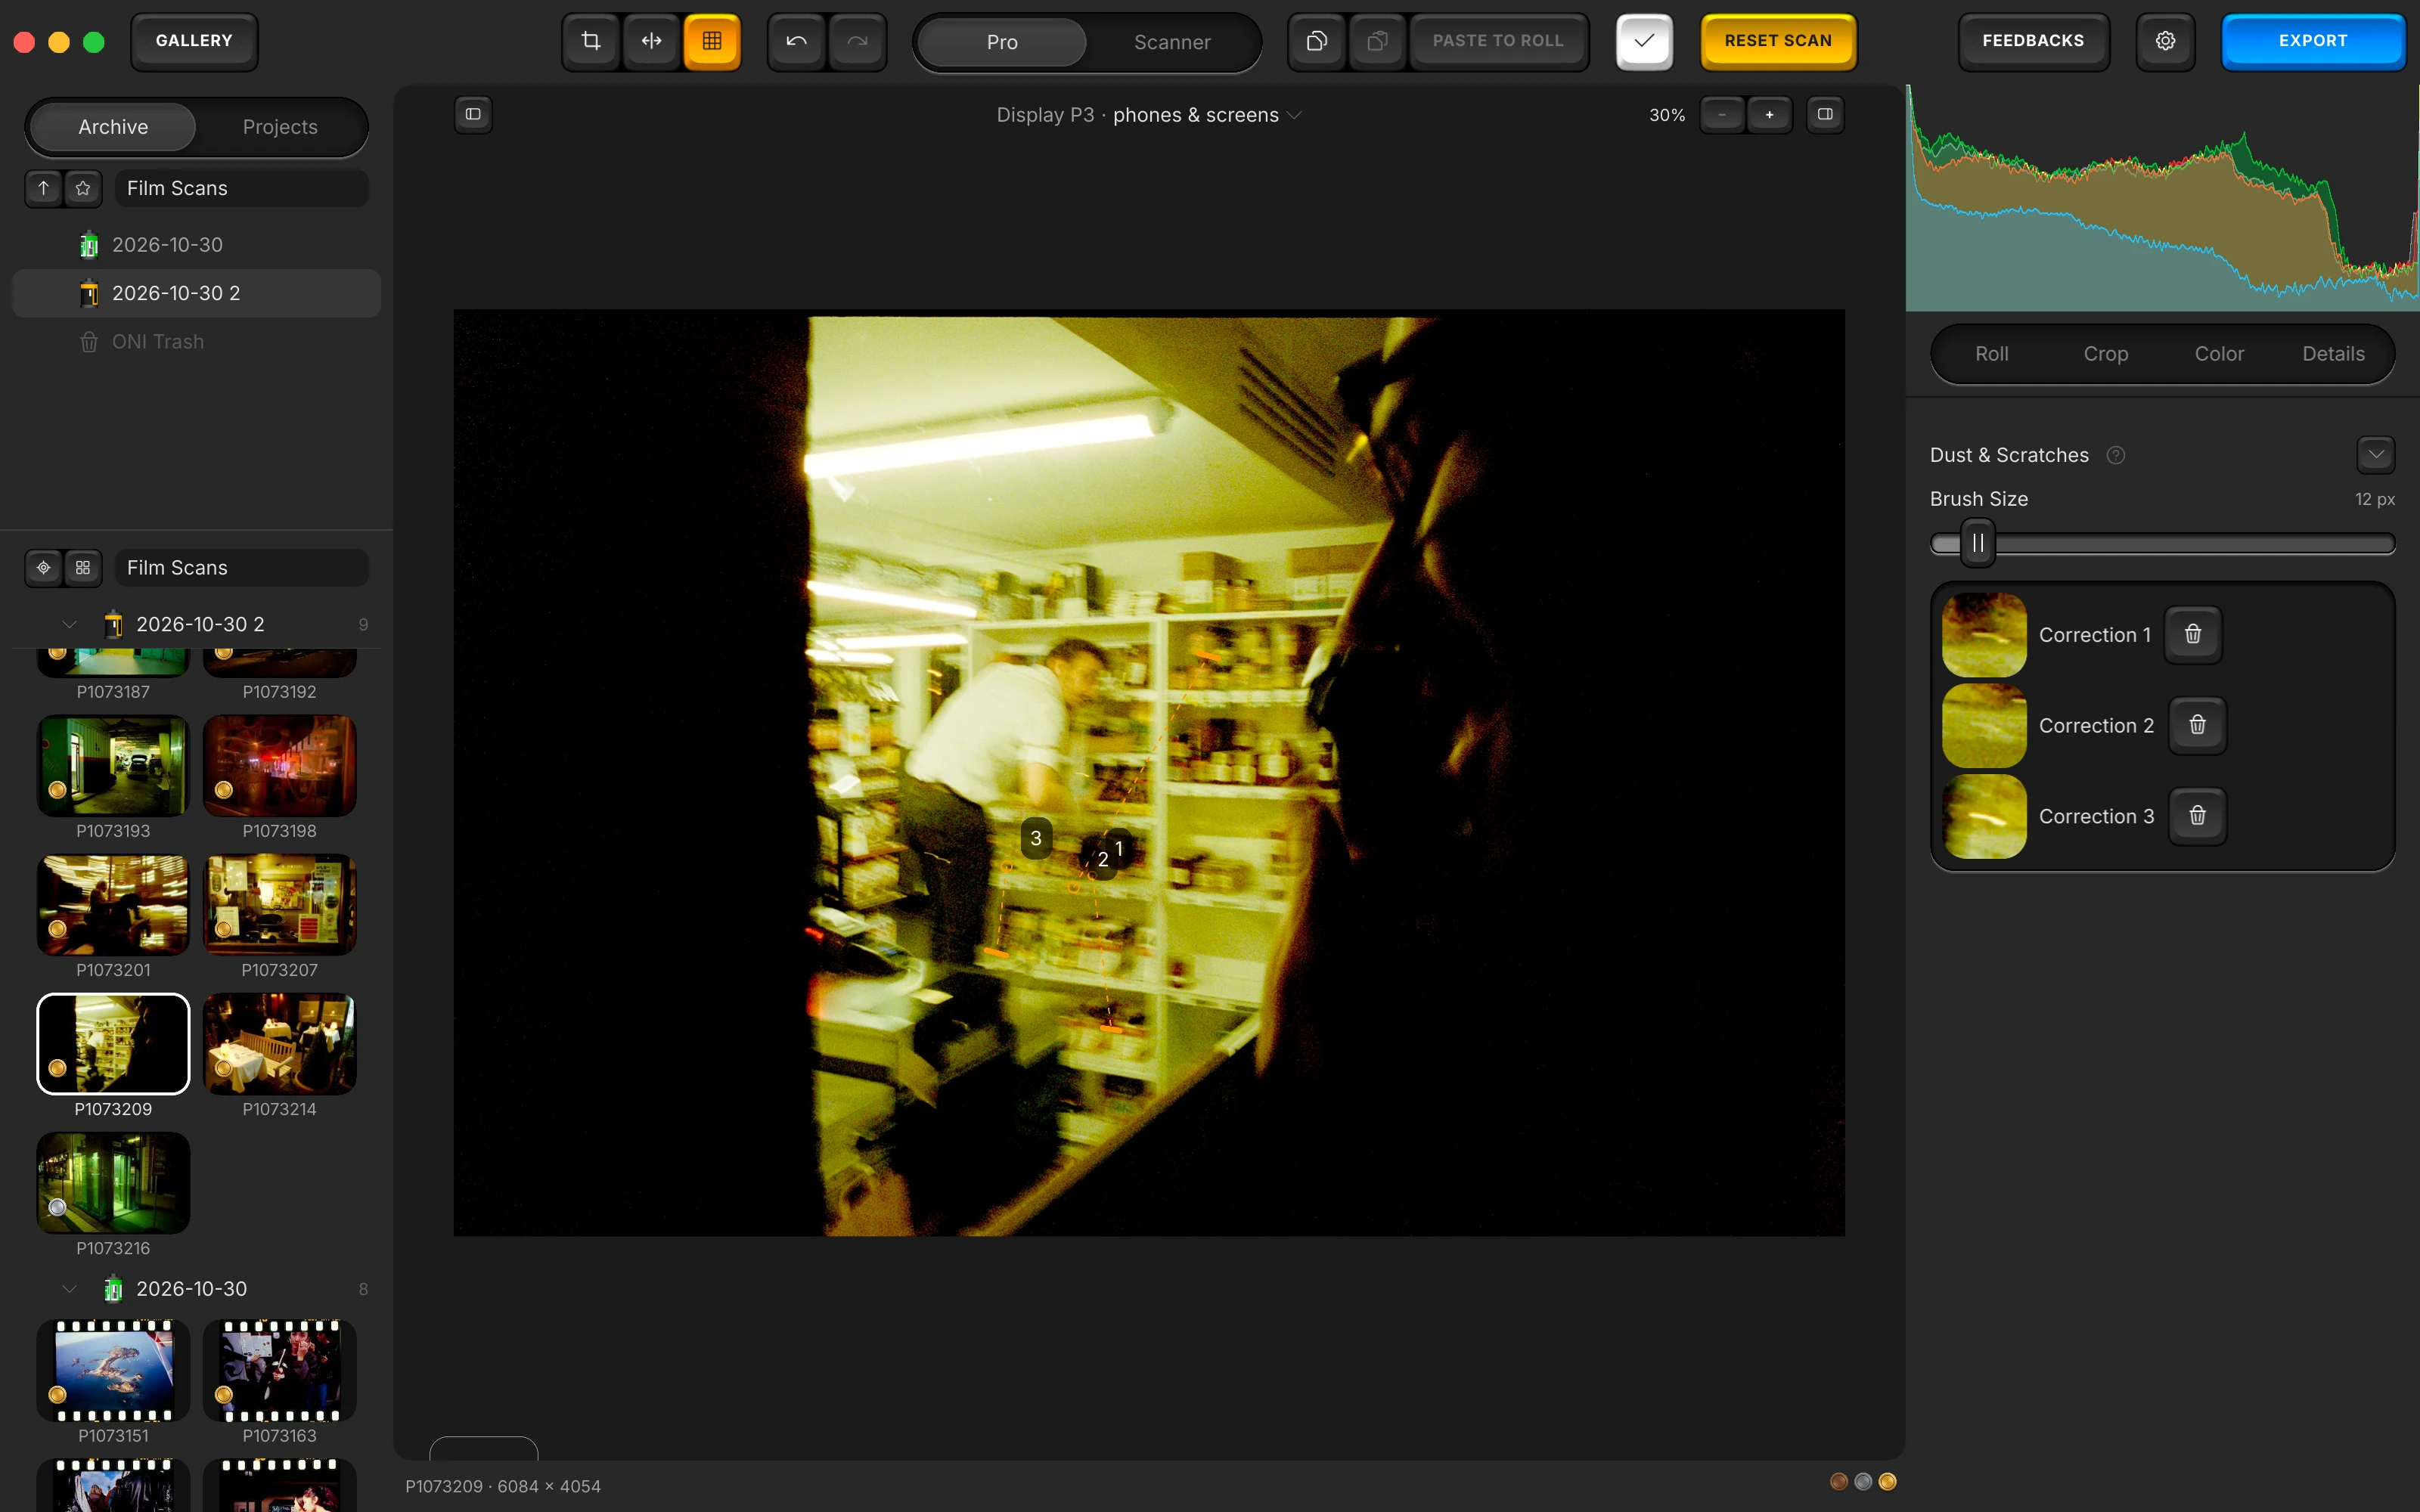
Dust & Scratches
Paint over a defect and the app lays a matching patch from the same photo over it. While this mode is open a stroke paints; the bar's De-dust key opens it and closes it.
- 12 px
Paint over the speck. The app looks in the same photo for the place that matches best, and lays it over.
- []
A brush your size. [ and ] change it by 4 px while De-dust is open.
The app's own note on Dust & Scratches
Paint over a defect; the tool duplicates a matching patch of the same photo over it.
Brush Size
The size of the brush, in pixels of your file. Paint over a speck or a scratch; the app looks in the same photo for the place whose surroundings match best, and lays it over.
- ] and [, Bigger Brush and Smaller Brush in the View menu, change it by 4 px while De-dust is open.
- A preference of yours, not a setting of the photo: it stays from one photo and one launch to the next.
- Hold Space to move the photo with the hand instead of painting.
- Nothing happens without a stroke: the app never looks for dust on its own.
- Brush Size
- 4 px to 120 px, at rest 12 px
- Travels
- Nothing to carry: it is a preference of yours (the brush size), not a setting of the photo, and it is not written to the sidecar.
Corrections
One row per patch: the dust that was under it, Correction N, the number of its mark on your photo, Generating… while the patch is made, and the key that removes it.
- A question mark beside a row means no good match was found nearby: the patch is a plain shifted tile. Remove it and paint again.
- ⌘Z (Ctrl+Z on Windows) takes a stroke back like any change.
- Corrections are this negative's own: no paste and no preset carries them, and Reset to Default… keeps them.
- Travels
- Never: a correction answers a defect on this negative, and pasted it would paint dust onto another photo.
The rest of the manual.
Every surface of the app, in the order of your work. From the folder of scans to the exported file.
- ArchiveOpening the folder of your scans, your folders and favourites, the Archive and Projects tabs, a roll's own facts, the Rolls and Labels menus, and the ONI Trash.
- Prepare the RollThe five steps a roll goes through before its frames are edited: film, flat-field, film base, flags, measuring frame, then Measure.
- RollWhat a roll shares: film type, flat-field, source encoding, the manual balance, the levels, dye separation and Balance strength.
- CropThe framing's own Copy and Paste, aspect ratio, straightening, quarter turns and mirrors, and the measuring window.
- ColorAuto White Balance, Temperature and Tint, Lighting, Effects, Curves, the finishing blocks, and Paper Correction on a paper profile.
- DetailsSharpening, chroma denoise and texture, the stages that act on the grain, judged in the loupe at full resolution.
- ScannerThe Scanner face: ONI or Frontier, a lab scanner's keypad of D, C, M, Y and TEMP, and the finish laid after its render.
- PresetsThe deck, saving a preset, its eighteen switches and white balance choice, the Settings menu, and Copy and Paste.
- ExportThe export screen: three presets, format, space and paper profiles, size, the HDR hack, each photo's EXIF line.
- Toolbar and menusEvery key of the bar and of the canvas margin, and every menu item with its shortcut.
- The whole manualEvery surface on one page, in the order a roll goes through the app.
- The guideYour first negative converted, step by step.
Convert your first roll tonight.
Add your folder, prepare the roll once, export. Free, and nothing else to install.
- Mac
- macOS 13 or later on Apple Silicon or Intel
- Windows
- Windows 10 or 11 (64-bit)
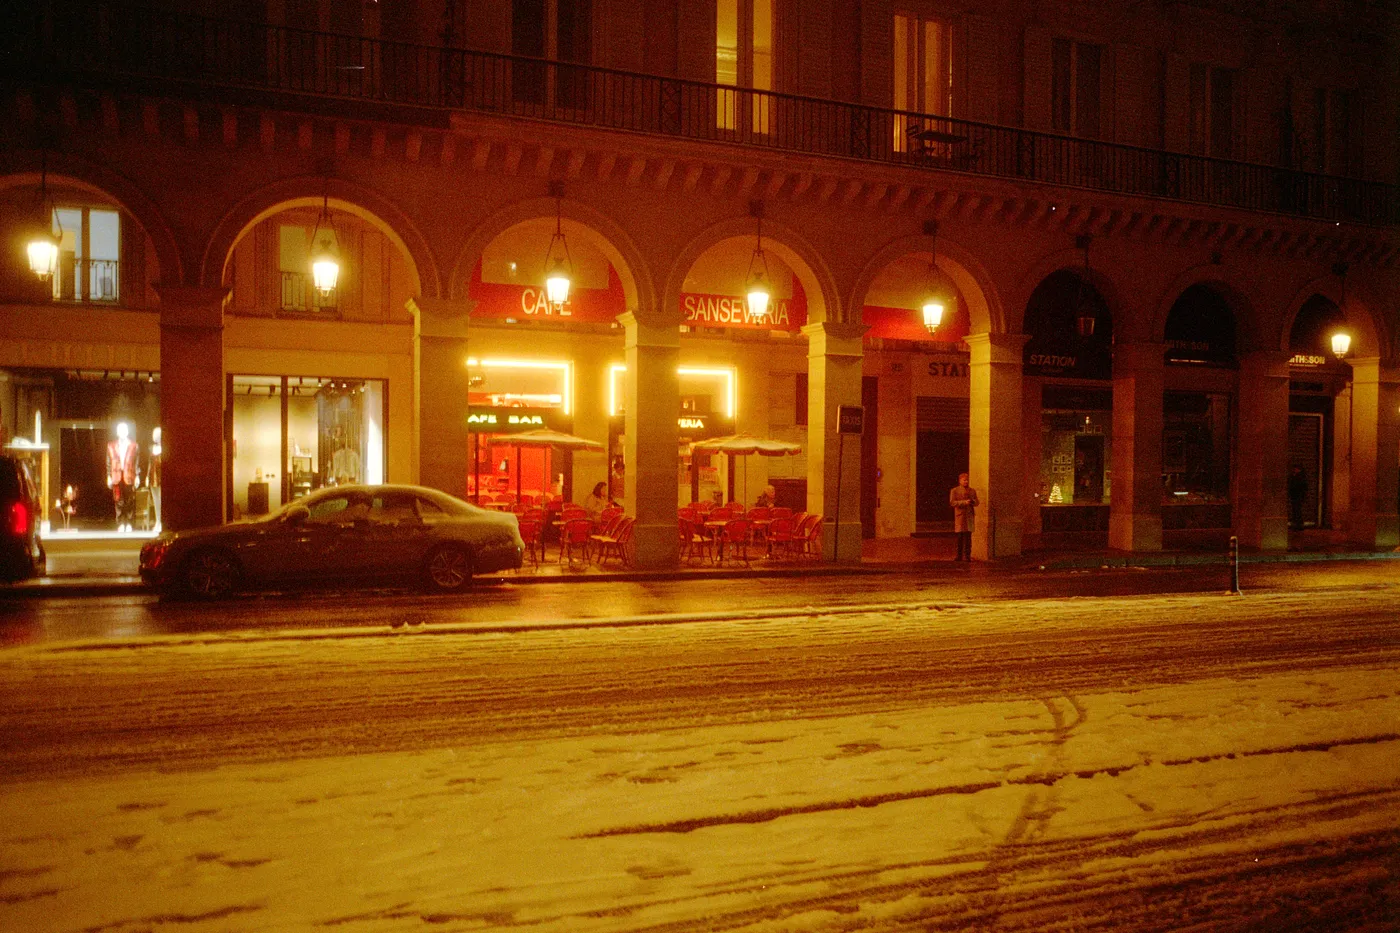
Snow night. Kodak Gold, converted in Open Negative Initiative.