What to expect. A 13 MB disk image, free, no account, no trial limit. It is signed and notarised by Apple, so it opens normally: macOS asks once whether you are sure, because the file came from the internet, and you click Open. There is no security warning to get past, and your original files are never modified.
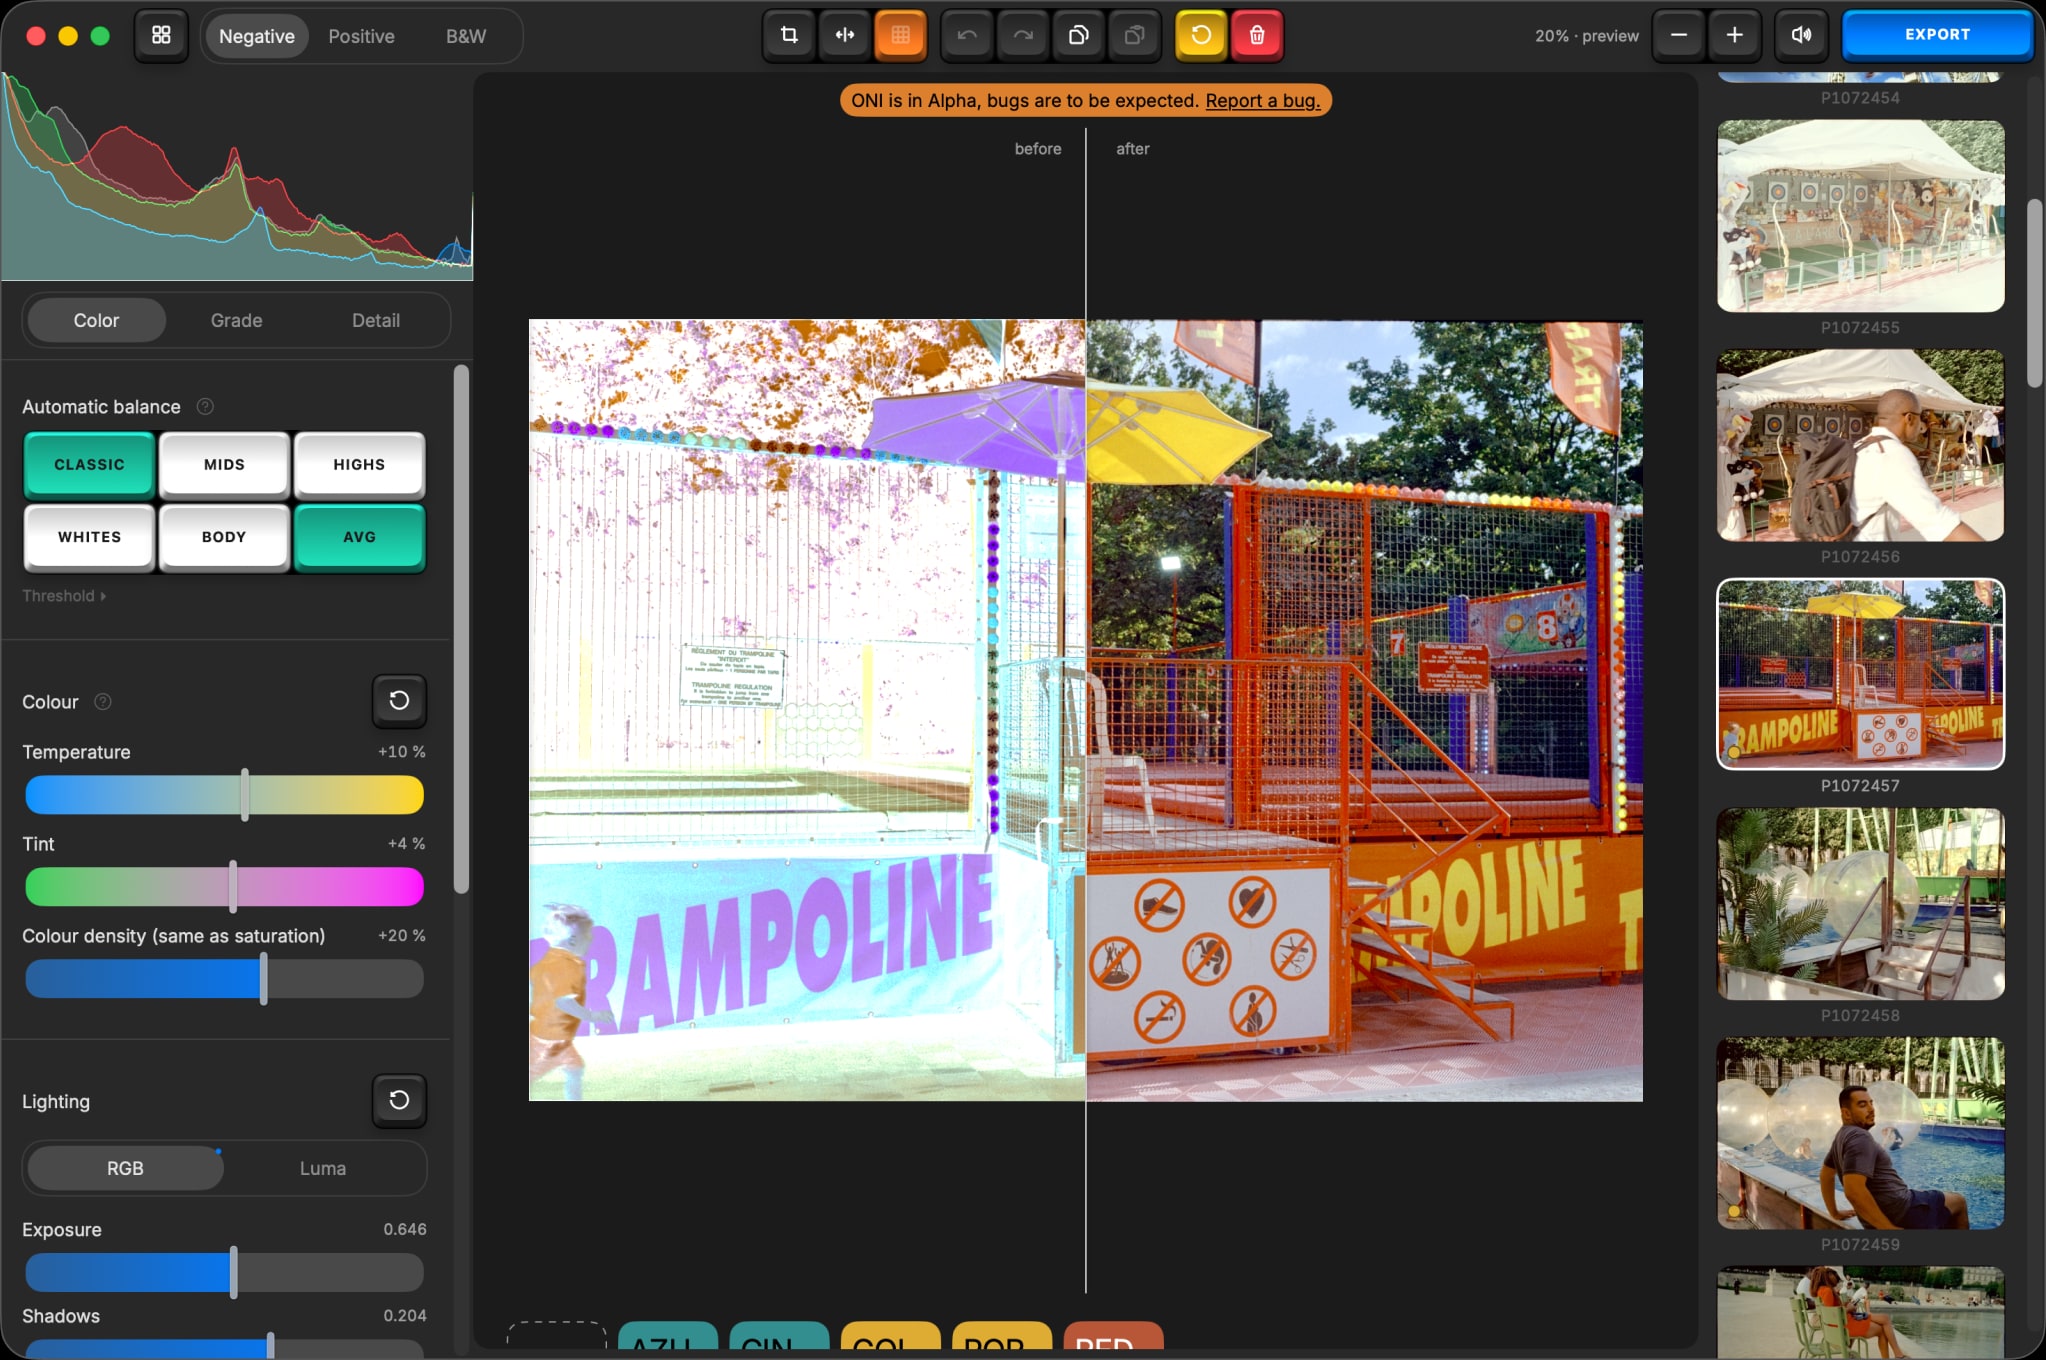
Version 0.1.6. macOS 13 or later. Apple Silicon and Intel. It is standalone and not a plugin: nothing else has to be installed, and there is no subscription underneath it. It is licensed GPL-3.0, and the source of each version ships with that version.
Free. No account, no trial limit, no watermark.
Reading it rather than running it? The complete source of this exact version is an asset on its release page, beside the disk image, and how that model works is a page of its own.
Installing
- Open the DMG.
- Drag the app onto the Applications folder beside it.
- Eject the disk image and open the app from Applications.
Never converted a negative before? The six-step guide takes you from a folder of scans to an exported picture in about ten minutes.
What macOS asks the first time
One dialog: “Open Negative Initiative” is an app downloaded from the internet. Are you sure you want to open it? Click Open. You are asked once, and never again.
That is the ordinary prompt macOS shows for anything downloaded, not a security warning. The application is signed with an Apple Developer ID and notarised by Apple, and both the app and the disk image are stapled, so Gatekeeper has already checked it before you double click, and it verifies offline.
What you will not see, because it does not apply here: a refusal to open, a message saying the developer cannot be verified, or a trip to System Settings → Privacy & Security to click Open Anyway. If a tutorial sends you there, it is describing an unsigned application.
Why you are asked to confirm at all
This site tells people that running an unsigned binary from a stranger is a bad idea, and then asks them to open a downloaded file. Signed and notarised means Apple has verified the identity behind it and scanned the build, and a cracked plugin is neither. But identity is not virtue, and you are still installing software from someone you have not met, so here is what it actually touches.
- What it can and cannot touch. It never writes to your original files, and it reaches the network for one thing only: to ask whether a newer version exists. There is no account, nothing to sign up for, and nothing about you is sent anywhere.
- You can read what you are running, if you read Swift. The complete source of this exact version is attached to it. What you cannot do yet is rebuild that binary identically: the source page says why, and it is a real gap.
- Updates are signed and checked. The updater refuses anything that does not carry the project's own signature, so the update path cannot be taken over by whatever sits between you and the server.
- One file, from one place. The disk image comes from the project's own release page, and every version ever published is still there beside it.
If you are converting your own film, a beta costs you very little: defaults still move between versions, but your originals are never modified, every earlier version stays downloadable, and no update installs itself. The section below is for the case where somebody is paying for the result.
If you are converting a paid job
This is a beta and the render moves between versions. If you are converting a paid job, that matters, so here is where you stand:
- The exported file is the master. Export the finished TIFF at delivery. It is the one artefact no future version can change.
- Every version stays downloadable. All releases stay published, so a job can be finished on the version it was started on.
- Nothing updates behind your back. The app looks for updates and never installs one without asking. The first line of every note says whether that version changes how an already-adjusted photograph renders, and you can decline it.
- Your settings file carries a format version, not a render version. One written by a newer version opens read-only instead of being rewritten, so stepping back cannot silently erase what the newer one wrote, but nothing warns you that reopening a six-month-old job in a newer application will render it differently. If a client may come back, keep the exported file.
What is not offered is a promise that a frame adjusted today renders identically in six months; that comes when the render is frozen. Until then the release notes are the warning, and the exported file is the guarantee.
What the exported file carries, and what it does not
16-bit TIFF or JPEG, in sRGB, Display P3 or Adobe RGB, with that colour space written into the file. TIFF compression is lossless ZIP and on by default. Resizing is optional and never enlarges. The naming pattern takes the original name, a three-digit sequence number, or both, and a whole selection is written in one pass with a progress count.
The only metadata carried over is the capture date. No camera body, no lens, no aperture, no serial number: those describe the scan, not the photograph. It also means no copyright, no creator, no IPTC caption and no keywords are written.
The remedy is one step in the application the files land in: Lightroom Classic and Capture One both apply a metadata preset at import, which fills creator, copyright and rights fields on the whole batch; exiftool does the same over a folder in one command, without opening either. It is a thing to set up once, and worth knowing before you download, not at delivery.
Sizes, so nothing is a surprise: at 60 megapixels a 16-bit TIFF lands around 350 MB per frame, so a 36-frame roll is a good ten gigabytes. Resizing on the longest edge, or JPEG, are both valid delivery outputs, and the sheet estimates the file size before you commit.
What goes in, and in what colour space
It opens camera RAW, DNG (including the linear DNGs that scanner software writes), TIFF, JPEG, PNG and HEIC. A camera scan from a copy stand and the file a flatbed or film scanner writes are both first-class routes in, and everything the app does to either one is documented control by control.
Importing links, it does not copy: nothing is duplicated into a library folder and nothing is moved. Your settings go into a small JSON file beside each original, so the RAW itself is untouched and your work travels with the folder.
A camera RAW is decoded at a fixed temperature into a linear Rec. 2020 working space, and everything after that happens in floating point. A file that is not a mosaiced RAW (a TIFF, a JPEG, a linear DNG from scanner software) is read in the colour profile it declares, and treated as sRGB when it declares none. There is no ProPhoto export and no soft proofing.
If something goes wrong
Read what has already been reported (the tracker is public and needs no account to read), then open an issue, which does need a free GitHub account. Two things make a report usable: the version, which the About window reads on its own, and the RAW file if it is a colour or decoding problem. A screenshot shows the symptom, the file reproduces it.
If your question is not a bug (whether your lightbox is good enough, whether your scanner's files will open), the About page says where to send it, and it is not the tracker.
If a picture opens flat, milky or nearly white, that is not you. A file opens already inverted, by the default Negative mode, but still linear, and it looks like that until a balance is clicked and the levels are placed. If it stays that way afterwards it is a bug, and it is worth reporting even though nothing crashed.
Updates
The application looks for updates on its own and never installs one without asking. You are shown the release note first, and every note leads with whether that version moves an already-adjusted photograph. They are all on the changelog, which also has a feed.
What to do first
Open one frame, set the mode, click a balance: that is a converted photograph, and nothing was applied to it before you asked. The six-step guide walks the rest of the way, as far as an exported file you can hand over.