In three lines. A one-click conversion has to guess what your scene was, and any guess is wrong on some pictures. So there are six buttons making six different guesses, each measured against real film. Press one, look, press another if you prefer it; one undo puts everything back.
Most automatics assume the scene averages to grey, which is true of a lot of photographs and spectacularly false of a sunset, a snowfield, or a wall. When it is false, the automatic does not fail gently: it removes exactly the colour that made the picture worth taking.
The six buttons are in Open Negative Initiative, a free macOS application for converting and editing scanned film: colour negatives, positives and black & white, from a camera scan or a scanner. It runs on its own, with no host application to buy. Nothing runs on a photograph until you click. macOS 13 or later. Apple Silicon and Intel.
Free, macOS 13 or later. No account, no trial limit, and one ⌘Z puts any of the six back.
How the automatic conversion works: two steps, not one
Step one brings each channel's median, the value half its pixels are below, onto green's, using three gains (one per channel, applied before everything else, the job a darkroom enlarger's colour head does with its lamp). Green is the reference, untouched by construction rather than by rounding. Step two places the levels handles.
On a healthy scan the two ways of doing it land within a thousandth of each other. The second step only earns its keep when a channel starts a long way from the others, and there it earns it by a factor of 164.
How I measured that, on a scene I broke on purpose
Doing this in one step instead of two looks equivalent and is not. A gain shifts the whole histogram along the axis, but whatever is pushed past the top of the readable range stays stuck there, so after the shift, part of the picture is no longer where the arithmetic thinks it is. Hence a second measurement between the two steps. On a scene with blue five stops denser than green:
| One step | Two steps | |
|---|---|---|
| Residual gap between channels, in density | 0.1711 | 0.0010 |
| Share of the picture piled past the top of the range | 25.6 % | 0.00 % |
To put a size on those numbers: one stop is 0.301 of density, so 0.1711 is a gap of more than half a stop between two channels, which is a colour cast anybody sees. 0.0010 is about a three-hundredth of a stop, which nobody sees on anything.
The six, and what each assumes
A quantile is the value below which a given share of the pixels sit: the 0.9 quantile is the value 90 % of the picture is darker than. All six buttons read quantiles off the histogram, and nothing else.
| Mode | What it does | When to reach for it |
|---|---|---|
| Classic | Both end points, plus a return to rest for everything else. | A clean start that assumes nothing about the colour of the scene. |
| Mids | Classic, plus red and blue medians aligned onto green's. | Ordinary daylight scenes. I kept its answer on eleven of my twelve reference frames. |
| Highs | Classic, plus the white point placed on the 0.9 quantile. | Scenes with a large bright area: snow, a white sky, a pale wall. |
| Whites | The same, at 0.95. | The same case when Highs comes out too flat. Try both, they part company by film. |
| Body | Both points moved together, so the 0.1 and 0.9 quantiles land on green's. Named for the body of the histogram, which it moves whole. | High-contrast scenes where both ends are misbehaving at once. |
| AVG | Every handle at the mean of the five above. | No opinion yet. This is the one to press first. |
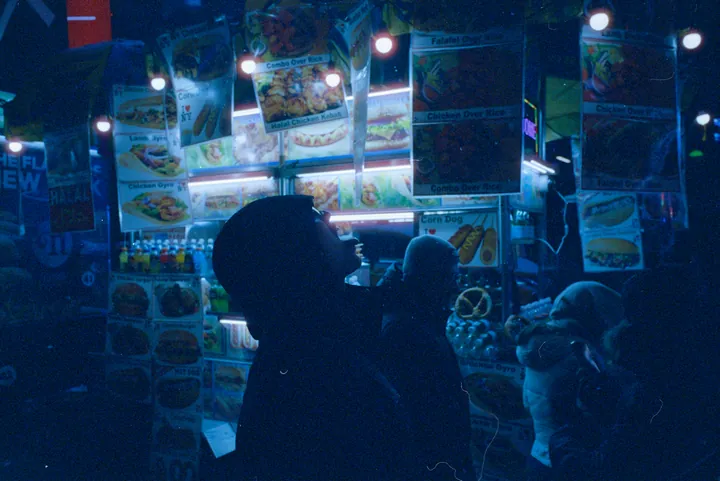
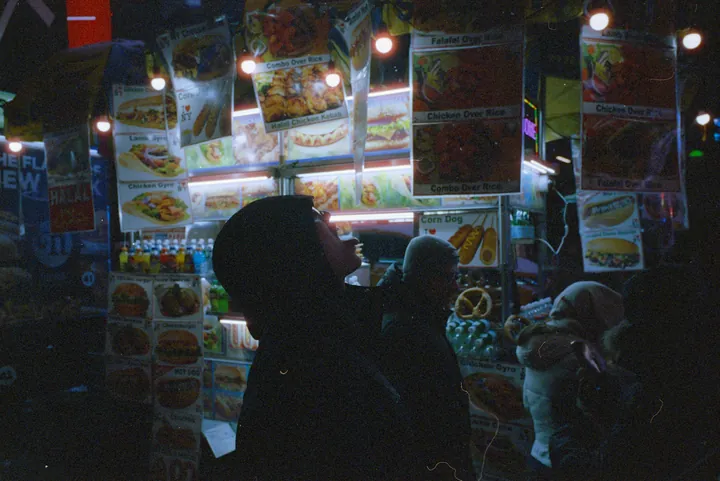
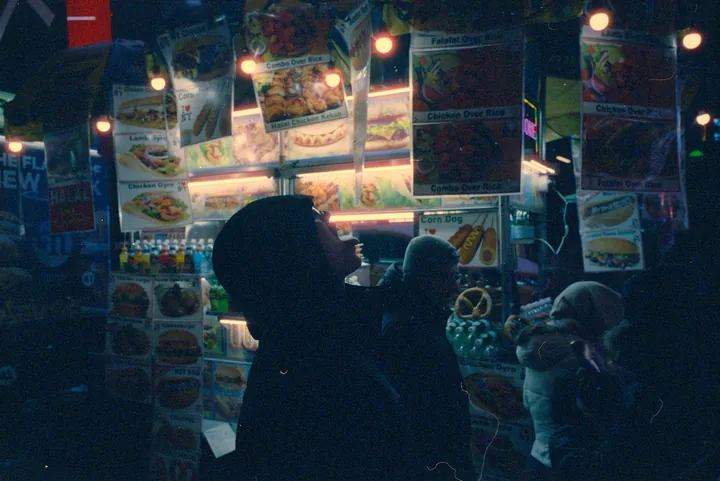
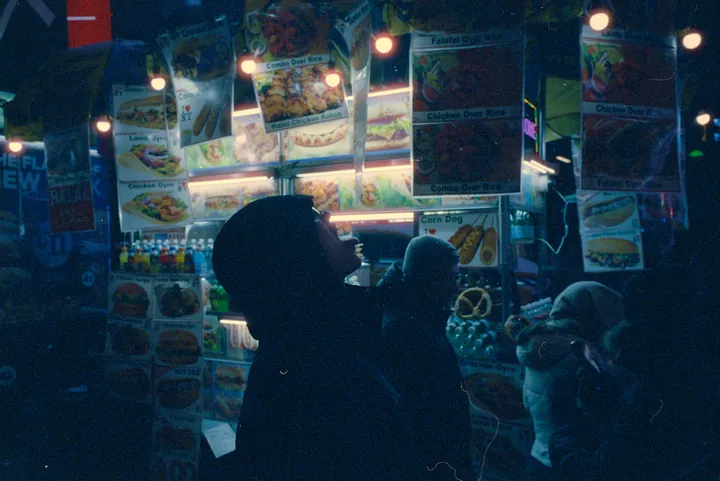
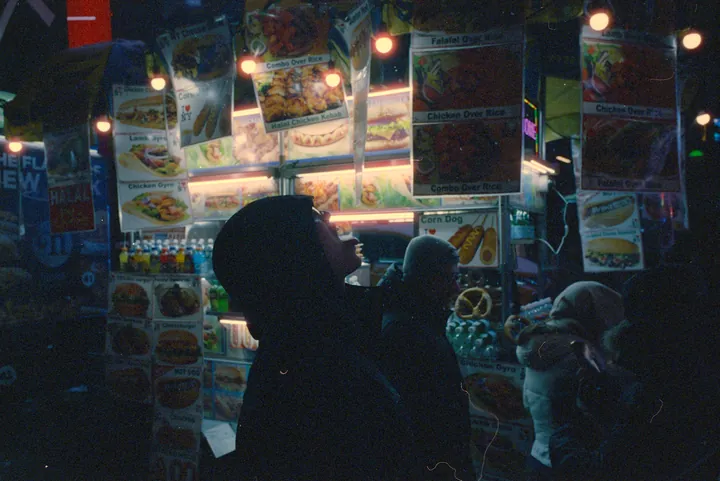
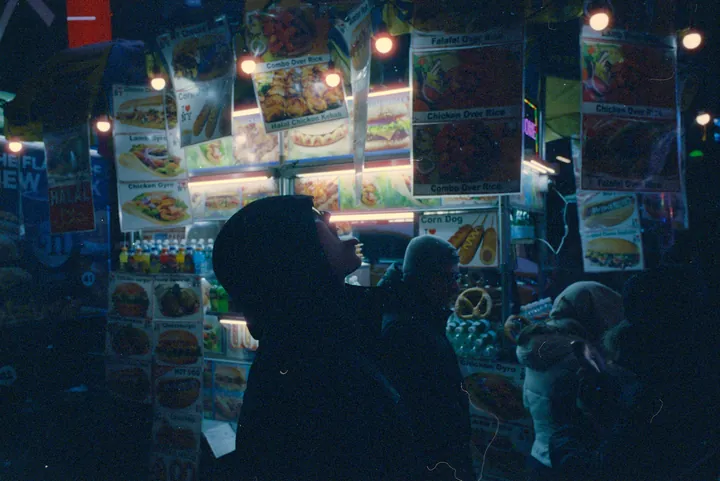
I kept Mids on eleven of my twelve reference frames and threw it out on the twelfth, a dusk sky, which is blue: aligning medians assumes the scene averages to grey, and a blue hour does not. Eleven of twelve is my judgement on my own frames, not a benchmark, but the twelfth is the interesting one, so here it is:
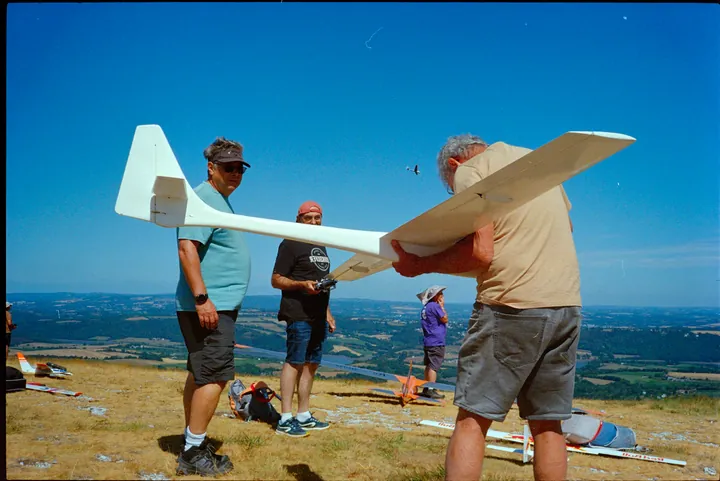
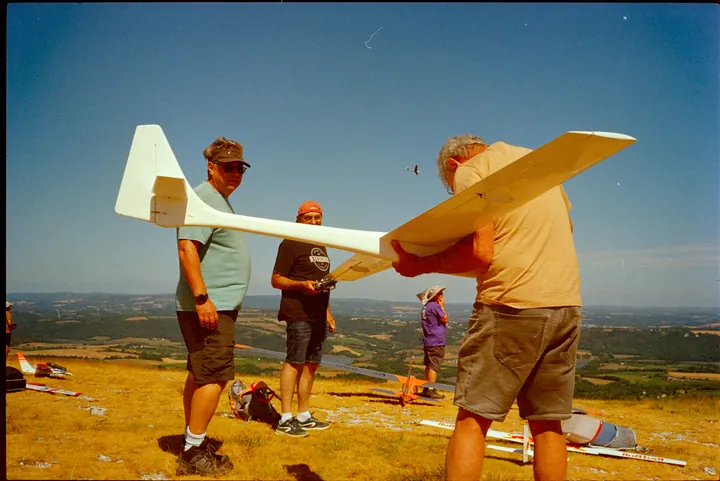
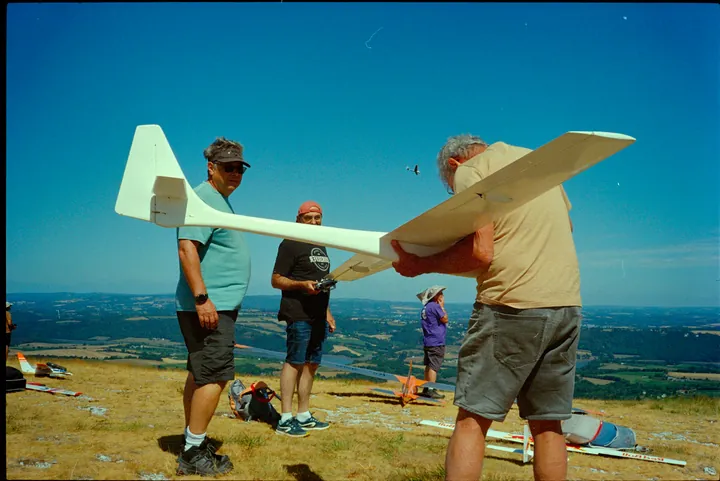
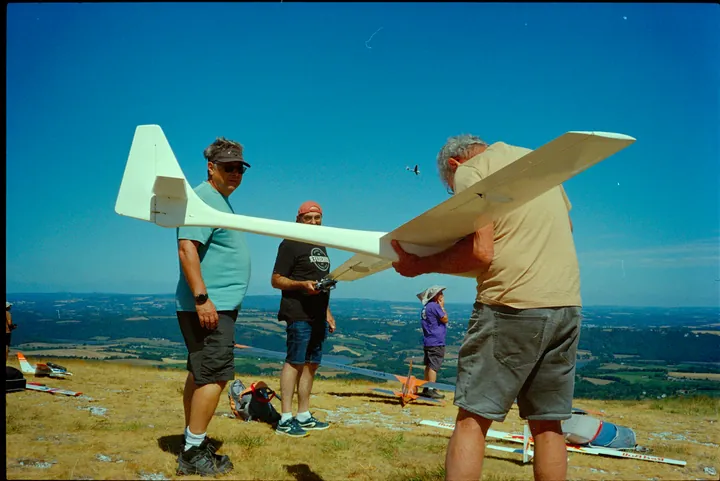
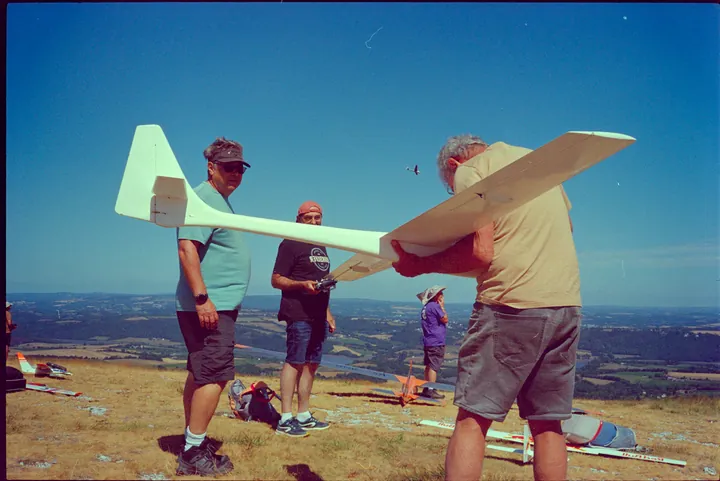
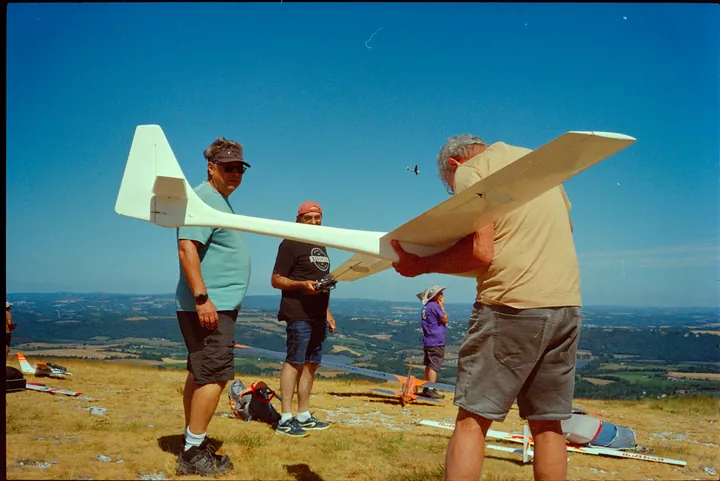
Whites is not a rounder Highs. Each wins films the other loses. On Lomo Metropolis the residual gap between channels lands at 0.0179 of density for one and 0.0267 for the other, and on other stocks the order reverses. Neither number is a score: Metropolis is bought for its cast, so the flatter result is the wrong one on that film. What the pair is good for is telling you the two buttons genuinely disagree, and that trying both is not superstition.
AVG is first nowhere and last nowhere, and that is what it is for. What a mean cannot do is win a film that only one button wins, because every contributor moves it, by construction.
The one failure you will meet: a clipped channel
If a channel hit the scanner's black level while you were scanning, a whole area arrived with one single value in it: it was clipped. The balance will align the medians perfectly and the area will stay mottled, because no adjustment can pull two different numbers out of one: here, or in any other application.
blackwhite
Three channels apart, each ending before the edge. Every value still has neighbours it differs from.
blackwhite
The wall against the right edge is one value holding every pixel that went past the top. No setting pulls two numbers back out of one.
It looks like a software failure and is not. The only handle on it is the density ceiling, which changes what counts as being in that band at all; the real fix is upstream, and it is to rescan that frame a little brighter.
What they will never do
- They never run on import. Nothing is applied to a photograph you have not asked about.
- They show you what they propose on the histogram, on hover, before you commit.
- They read quantiles and model nothing. There is no film-base detection and no scene classifier.
What I measured it on, and what I did not
I shot and scanned eight stocks to calibrate this: Portra 400, Portra 800, Cinestill 800T, Harman Azure, Lomo Metropolis, Lomo Turquoise, Redscale and Super Expired 1600. The six-mode comparison ran over twelve frames, which is why one figure on this page counts films and another counts frames.
Half that set is film that misbehaves, because a mode that only works on well-exposed Portra is a mode that has not been tested. Super Expired 1600 is the roll that made me keep both Highs and Whites instead of picking one.
What that list does not contain, and it matters if those are what you shoot: no Fuji stock, no Gold or Ultramax, and no black and white at all, even though black & white is one of the three modes. Outside the set the six buttons still work, because they read quantiles off your frame instead of looking a film up in a table; what is untested is which of the six tends to win.
You can see that for yourself without taking my word for it. Not one of the ten frames on the front page is on a stock from the calibration set: five Kodak Gold, one UltraMax, one converted on the generic colour negative setting, and three whose stock was never recorded. They were converted with the same six buttons. If one of them fails on your stock, an issue with the file attached is the fastest way to get the next set of measurements pointed at your emulsion.
All figures measured on those eight reference scans during the calibration of the application, 2026.
Converting a whole roll, not one frame
Select several frames and press a balance: it runs on all of them, and each frame is decoded and measured on its own, and none of them inherits another's answer. A paste carries one measurement onto thirty-six pictures, which is wrong the moment the exposure varies along the roll.
Pasting is still the right gesture for everything that is a decision, not a measurement: contrast, saturation, the look you settled on. Framing is the one thing a paste never carries; what that costs on a copy stand is written on the features page.
There is one case where you do want a single answer for the whole roll, and the application has a gesture for it. Group the frames, make a contact sheet from them, and judge all thirty-six at once the way you would have on paper: the balance you settle on is then about the roll rather than about whichever frame you happened to open first. Copy the sheet's settings, select the roll, paste. That is the deliberate opposite of the paragraph above, and the sheet's own page says which of the two to reach for.
Press all six on one frame
It takes about ten seconds, and it is faster than reading this page. Open a frame, press AVG, then press the other five and keep whichever you prefer. Never converted a negative before? The six-step guide starts earlier than this page does. Comparing converters rather than using one? Negative Lab Pro and its alternatives are laid out side by side on their own page, with cost, host application and platform.
Next: chroma denoise, the first finishing stage after a frame is converted, or the glossary if a word here was new: every term above links to its own entry.
Free, no account, no trial limit. Six buttons, one ⌘Z.